Google Sheets is a powerful spreadsheet tool that can help you organize data quickly and easily. One of the most useful features of Google Sheets is the ability to paste and insert rows. In this article, we will discuss how to paste and insert rows in Google Sheets.
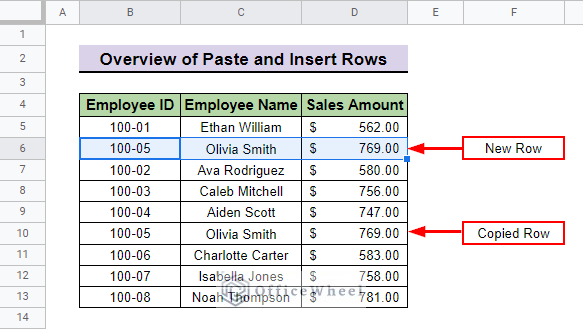
The above screenshot is an overview of the article, representing how we can paste and insert rows in Google Sheets.
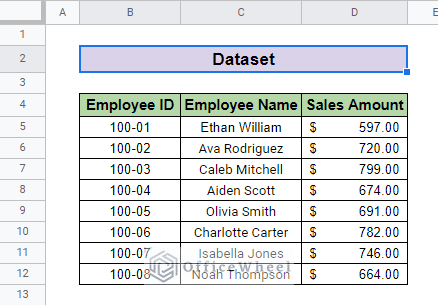
A Sample of Practice Spreadsheet
You can download the spreadsheet and practice the techniques by working on it.
3 Easy Ways to Paste and Insert Rows in Google Sheets
The methods that we will discuss take advantage of a few fundamental aspects and functions of the Google Sheets application, all centered around copy and paste.
1. Using Insert Option
In this first example, we will make use of the Insert menu of Google Sheets. And to show this, we have the following dataset.
Steps:
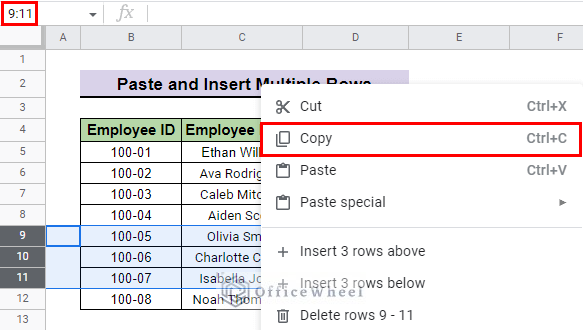
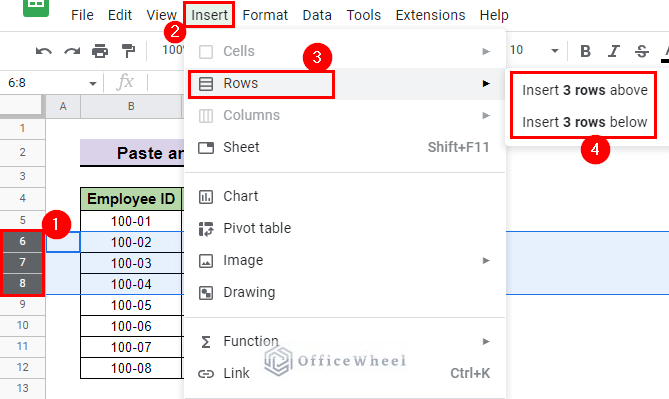
- First, select the rows you want to paste and copy these rows by using the keyboard shortcut CTRL+C or using the right button on the mouse to copy. We select the 3 rows, 9:11, in our example.
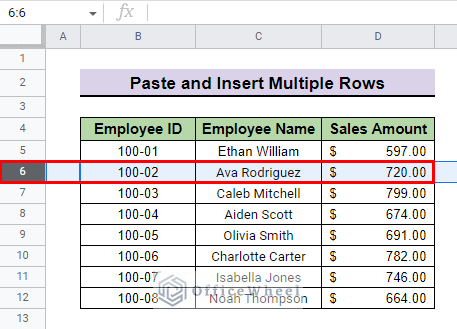
- After that, go to the row above which you want to paste this copied row. We go to row 6 in our example.
- To paste these rows we must insert an equal number of rows first.
- To do this, select 3 rows including that row, and go to Menu bar > Insert > Rows > Insert 3 rows above or Insert 3 rows below. You can also hold the SHIFT key and select rows one by one.
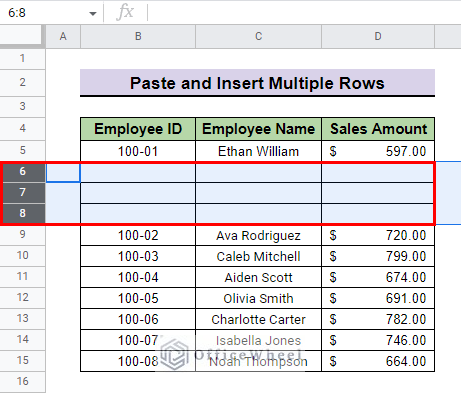
- Afterward, you will see three new rows appear above or below the selected row.
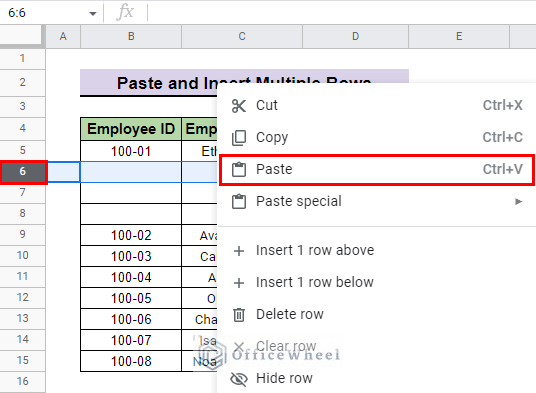
- Then, go to the first row of the new rows and use the keyboard shortcut CTRL+V or you can use the right button on the mouse to paste the previously copied row. We go to row 6 in our example and paste the copied row.
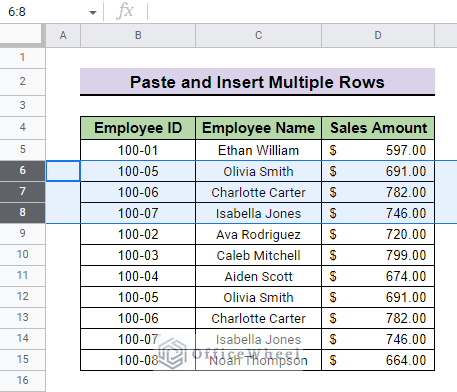
- Finally, you will see the rows are now pasted into the newly inserted rows.
Read More: Insert Rows Between Other Rows in Google Sheets (4 Easy Ways)
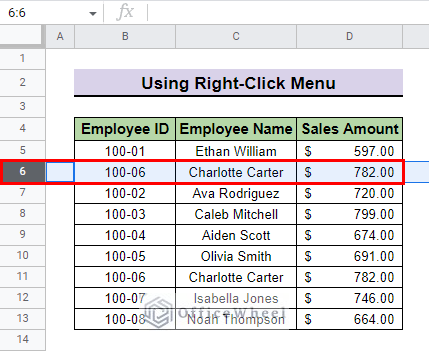
2. Applying Right-Click Menu
You can also insert a row from the right-click menu of the mouse.
- First, go to the row above which you want to paste the copied rows. We go to row 6 in our example.
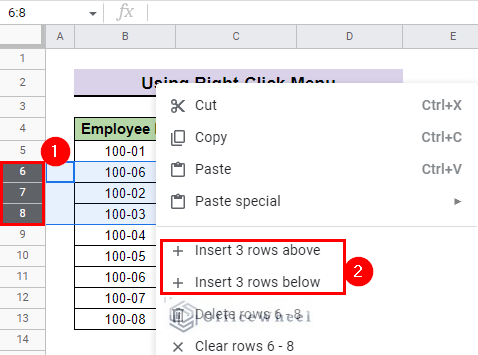
- Then, select 3 rows including that row, and right-click on the mouse to select Insert 3 rows above or Insert 3 rows below.
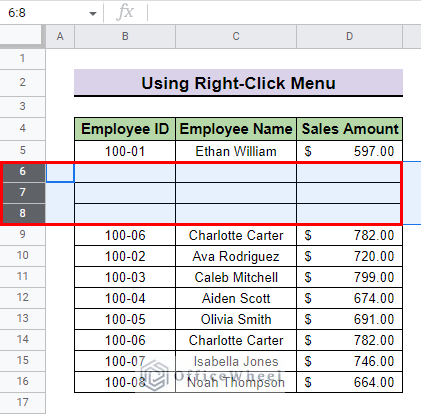
- After that, you will see three new rows appear above or below the selected row.
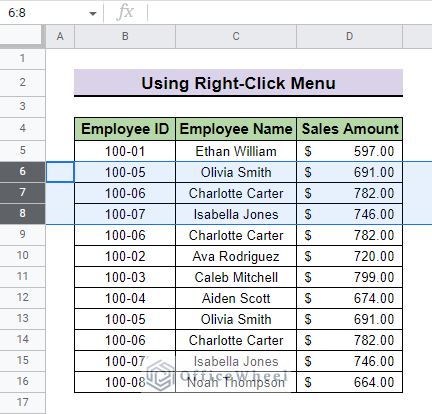
- Finally, paste the previously copied rows into the new rows.
Read More: How to Insert Blank Column Using QUERY in Google Sheets
Similar Readings
- How to Insert Sparklines in Google Sheets (4 Useful Examples)
- Insert Equation in Google Sheets (4 Tricky Ways)
- How to Insert PDF in Google Sheets (2 Suitable Methods)
- Insert Page Break in Google Sheets (An Easy Guide)
- How to Insert a Header in Google Sheets (2 Simple Scenarios)
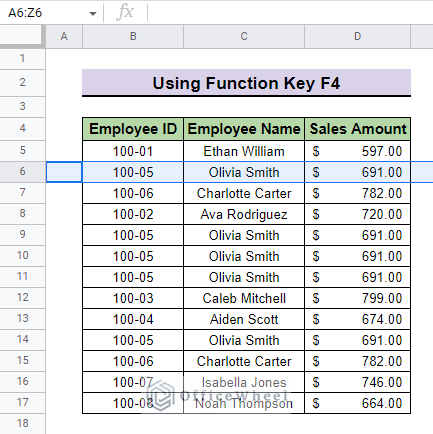
3. Using Function Key F4
The F4 function key can be used to repeat the last action performed. We can use the F4 function key to insert multiple rows in Google Sheets.
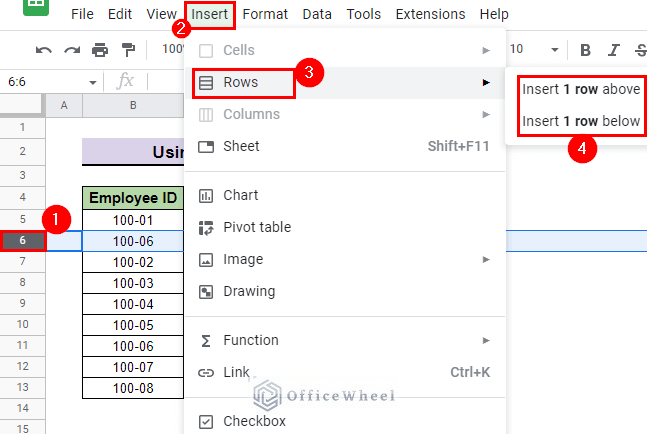
- First, select a row and go to Menu bar > Insert > Rows > Insert 1 row above/ Insert 1 row below. We select row 6 and select Insert 1 row above this row in our example.
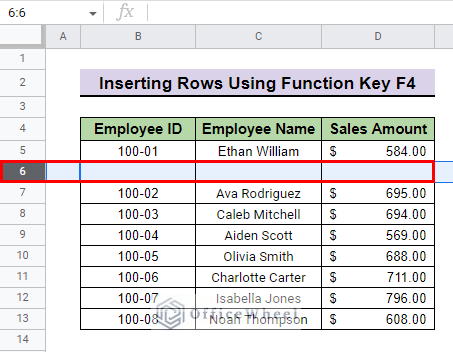
- Now, you will see a new row appear above the selected row.
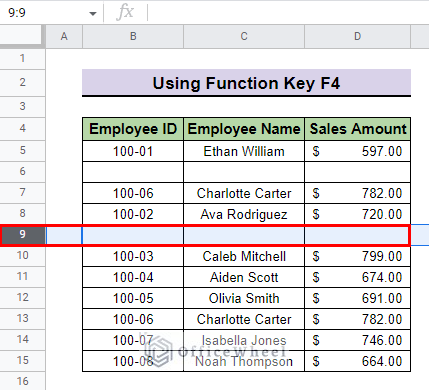
- You can now press F4 to add a new row above any row that you want. We can insert a new row below row 8 too.
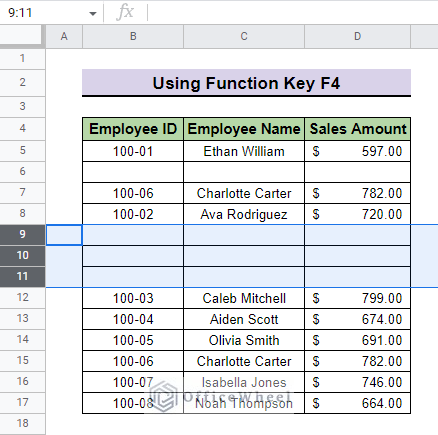
- You can even press F4 multiple times to insert multiple rows.
Read More: How to Insert Multiple Columns in Google Sheets (2 Quick Ways)
Extra: Paste and Insert Single Row in Google Sheets
You can paste and insert a single row above or below a row very easily. For this method, we use the following dataset. We will demonstrate how to paste and insert a single row using this dataset.
Steps:
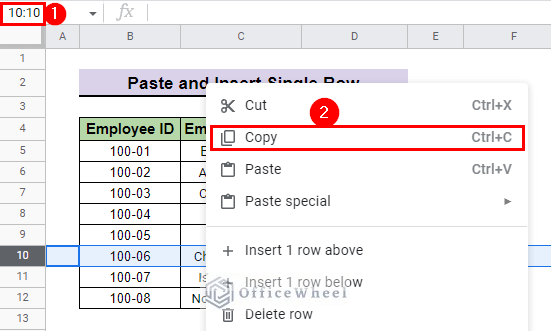
- First, select the row you want to paste and copy that row by using the keyboard shortcut CTRL+C or use the right button on the mouse to copy. We select row 10:10 in our example.
- After that, go to the row above which you want to paste this copied row. We go to row 6 in our example.
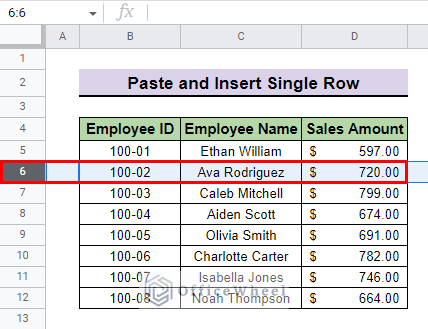
- Now, if we try to paste the copied row without inserting a new row, it will override the data in row 6.

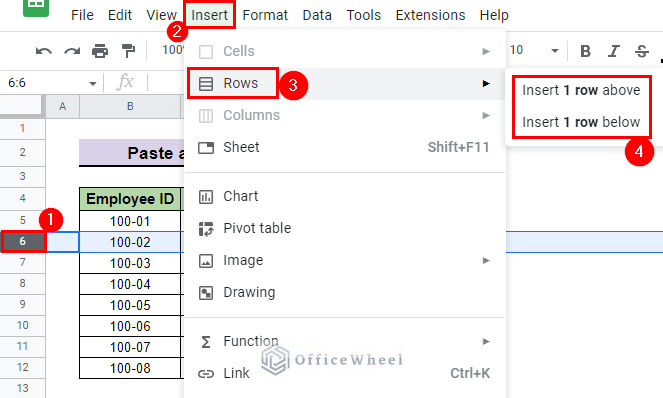
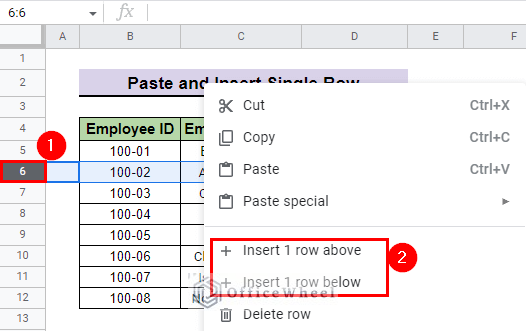
- To overcome this, select a cell of the desired row and go to Menu bar > Insert > Rows > Insert 1 row above / Insert 1 row below. We select row 6 and select Insert 1 row above this row in our example.
- You can also insert a row from the right-click menu of the mouse. For this, right-click on the mouse over a cell of the desired row and select Insert 1 row above or Insert 1 row below.
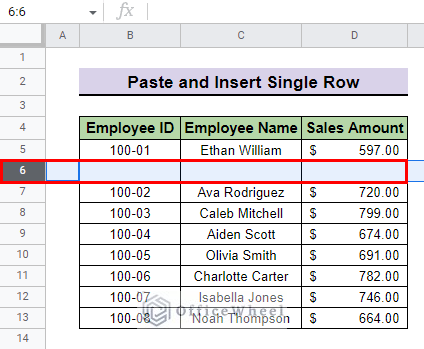
- Afterward, you will see a new row appear above the selected row.
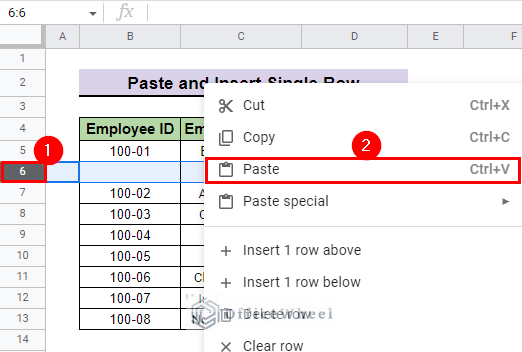
- Then, go to the new row and use the keyboard shortcut CTRL+V or you can use the right button on the mouse to paste the previously copied row. We go to row 6 in our example and Paste the copied row.
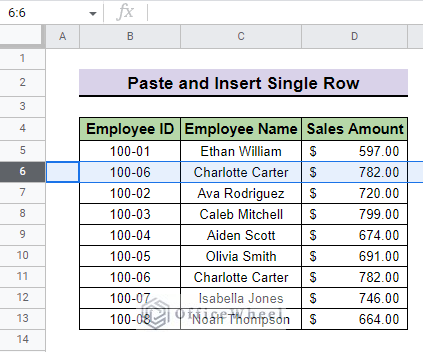
- Finally, you will see your row is now pasted into a newly inserted row.
Read More: How to Have More than 26 Columns in Google Sheets
Conclusion
This article demonstrates the ways to paste and insert rows in Google Sheets. We recommend you practice the techniques to fully understand them. The goal of this article is to provide helpful information and guide you in completing your task.
Additionally, consider looking into other articles available on OfficeWheel to expand your understanding and skill in using Google Sheets.
Related Articles
- How to Insert Superscript in Google Sheets (2 Simple Ways)
- Insert Button in Google Sheets (5 Quick Steps)
- How to Add Parentheses in Google Sheets (5 Ideal Scenarios)
- Insert Error Bars in Google Sheets (3 Practical Examples)
- How to Insert Formula in Google Sheets for Entire Column
- Insert Yes or No Box in Google Sheets (2 Easy Ways)
- How to Insert a Drop-Down List in Google Sheets (2 Easy Ways)