Adding a header can be a useful way to label, manage, and organize data easily in Google Sheets or any other document for that matter. Google Sheets provides some useful ways by which you can add headers to your datasheet. In this article, we will show you how to insert a header in Google Sheets.
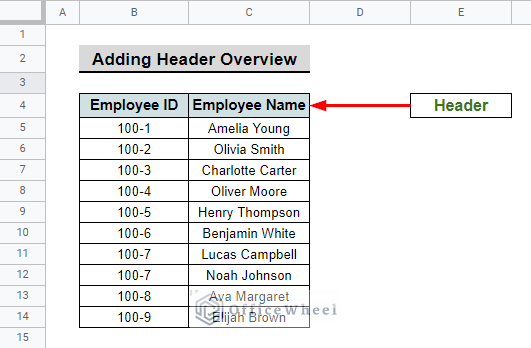
The above screenshot is an overview of the article, representing how we can add a header in Google Sheets.
A Sample of Practice Spreadsheet
You can download the spreadsheet and practice the techniques by working on it.
2 Simple Scenarios to Insert a Header in Google Sheets
In Google Sheets, We have two distinct scenarios where we can apply and use headers.
1. Adding Data Column Headers
Labeling your data with a header is a useful way to make viewers understand the data type in the particular column. We will discuss how you can easily add a header to your existing dataset.
Steps:
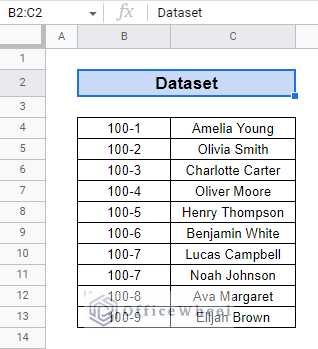
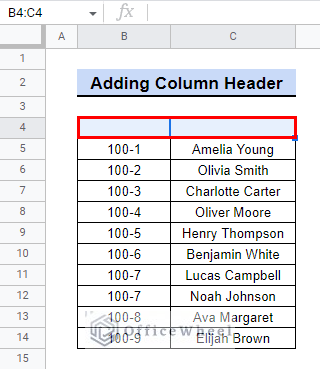
- First, consider the dataset we have below. The dataset has some names and numbers in it. At first glance, you may not understand what these data mean. We will add headers to these columns to make them meaningful to you.
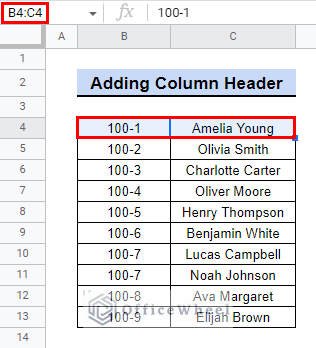
- Then, select the cell on top of which you want to add headers. We select cell B4:C4 in our example.
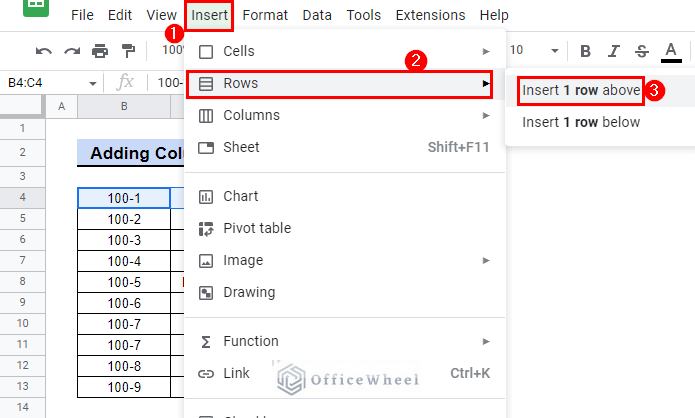
- After that, go to Menu Bar > Insert > Rows > Insert 1 row above.
- Next, you will see a new row appear on top of your existing dataset.
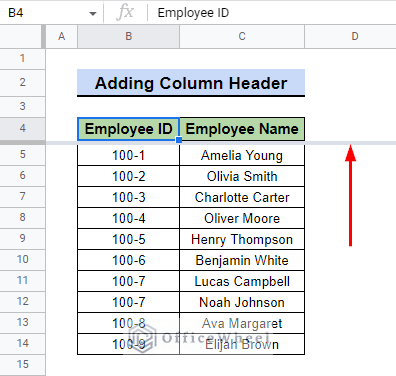
- Then, you can input the desired name for the header. We label the first header as Employee ID and the second one as Employee Name. You can even add custom formatting to make the headers stand out.

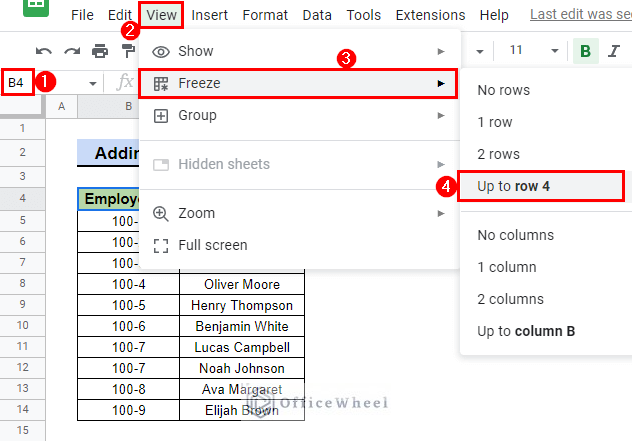
- Next, we will freeze the header row which will stay visible while we scroll through the rest of the sheet. For this, select the header row and go to Menu bar > View > Freeze > Up to row x. Where x denotes the row number of the header row.
- In our example, the header row is in the 4th row, so we select Up to row 4. Simply select a cell of the header row and this option should appear.
- So, even if we scroll down, the headers will always be visible when you scroll down the sheet.
Read More: How to Insert Multiple Rows in Google Sheets (4 Ways)
2. Placing Page Header from Print Settings Menu
On the other hand, you can also add Page Headers in Google Sheets. To do so, we take advantage of the Print Settings in the application.
Steps:
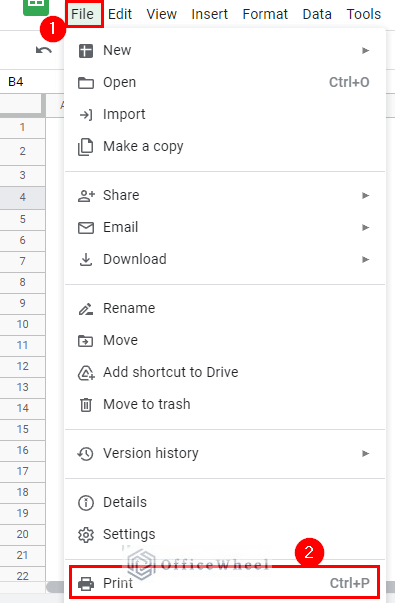
- First, go to Menu bar > File > Print.
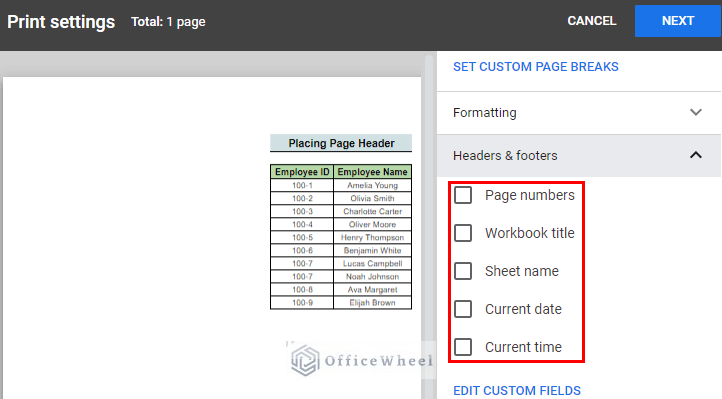
- Then, select Headers & footers from the Print settings dialog box.

- Afterward, you will see some built-in header options. You can check the checkboxes to include elements like Page numbers, Workbook title, Current date, and Current time in your header.
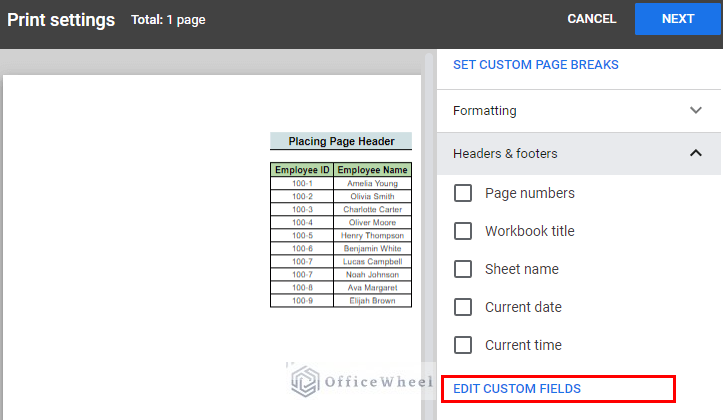
- Next, you can enter the text you want to appear in the header by selecting EDIT CUSTOM FIELDS.
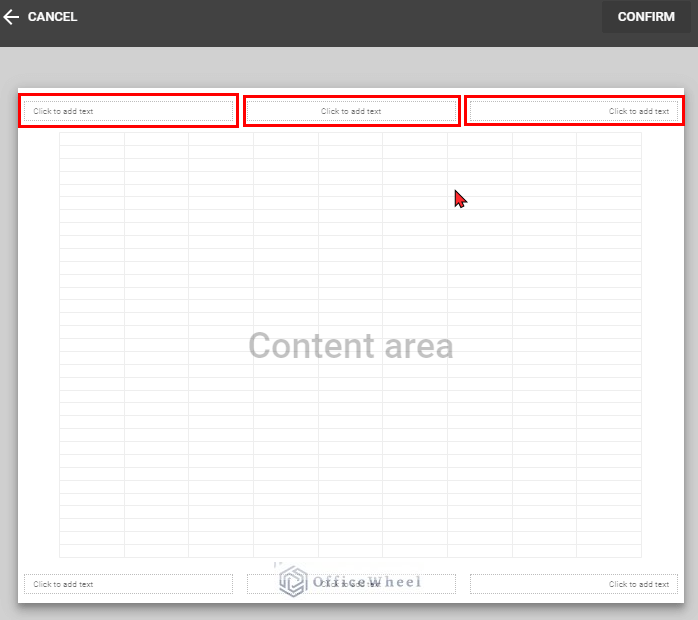
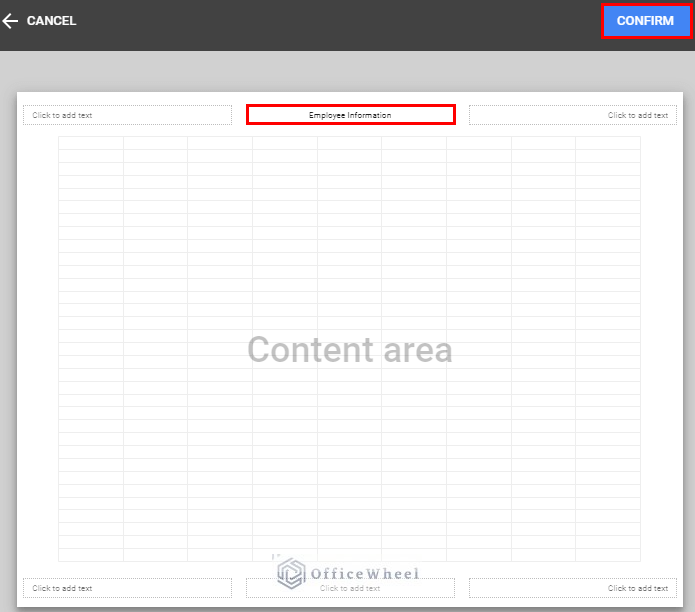
- After that, you will see three blank boxes appear at the top of your sheet. You can add desired text in these boxes to make them headers.
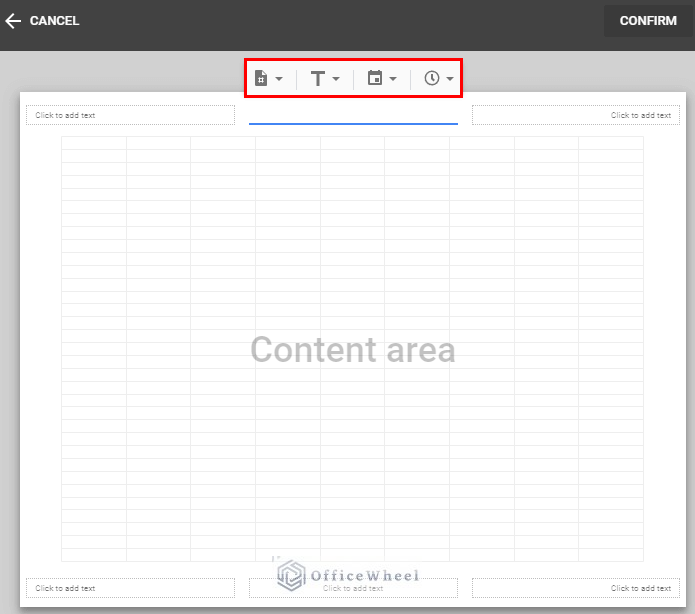
- You can also include elements like Page number, Title, Date, and Time in the headers.
- Then, we input Employee Information as the header name and click CONFIRM to close the dialog box.
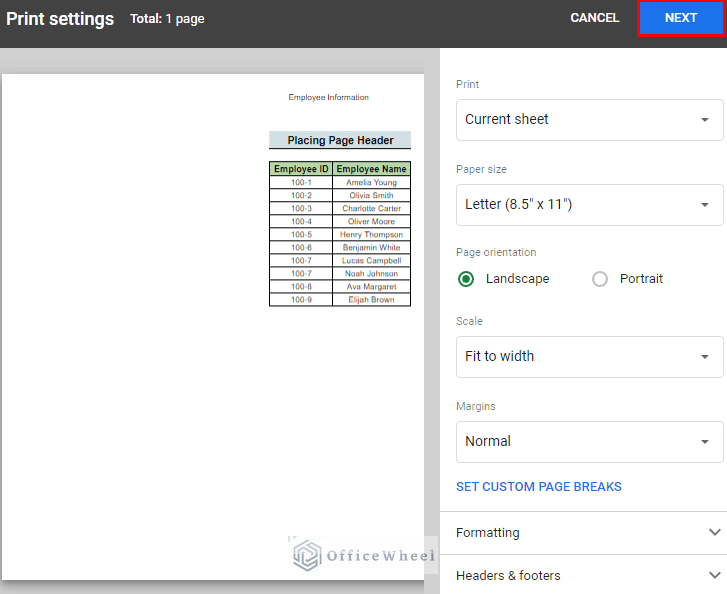
- After that, click NEXT to get the Print dialog box.
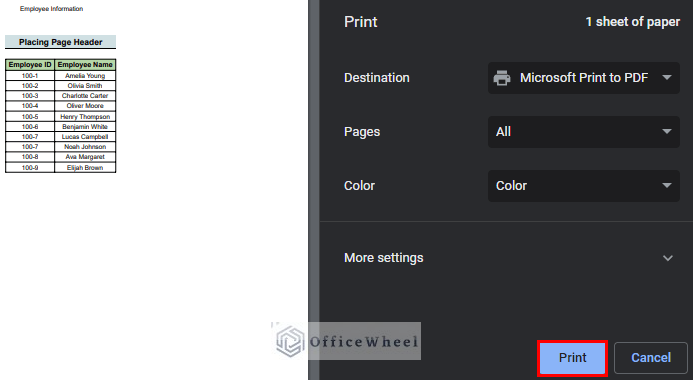
- Finally, click Print to print the spreadsheet with the new header.
Read More: How to Paste and Insert Rows in Google Sheets (3 Easy Ways)
Conclusion
In this article, we have demonstrated ways to insert a header in Google Sheets. We recommend you practice the techniques shown in order to fully grasp the concept. The goal of this article is to provide helpful information and guide you in your task.
Additionally, consider looking into other articles available on OfficeWheel to expand your understanding and skill in using Google Sheets.
Related Articles
- How to Insert Blank Column Using QUERY in Google Sheets
- Insert Yes or No Box in Google Sheets (2 Easy Ways)
- How to Insert Serial Numbers in Google Sheets (7 Easy Ways)
- Insert Page Break in Google Sheets (An Easy Guide)
- How to Insert Multiple Columns in Google Sheets (2 Quick Ways)
- Insert Rows Between Other Rows in Google Sheets (4 Easy Ways)
- How to Have More than 26 Columns in Google Sheets