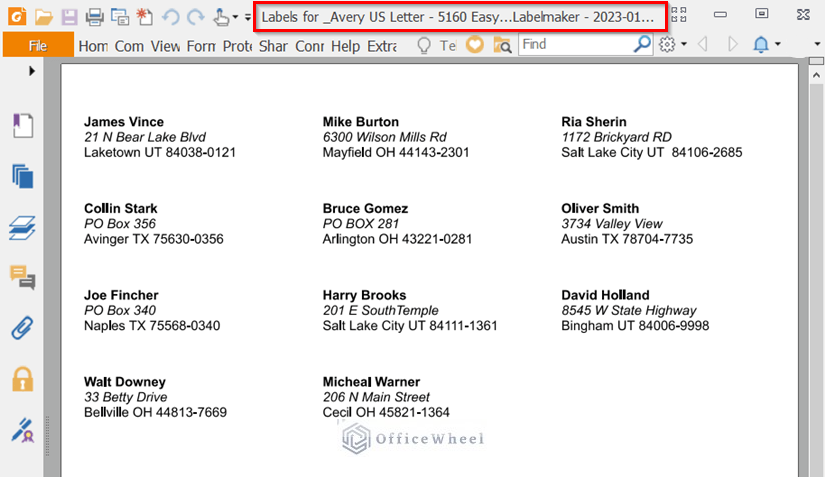
Mailing labels are often used for governing shipping information and cautionary advice. The mailing labels are printed and attached to the courier package body. In this article, I’ll demonstrate a step-by-step guide to print mailing labels from Google Sheets. The following image shows an overview of the printed mailing labels using the Create & Print Labels – Label Maker for Avery and Co add-on from Google Sheets.
A Sample of Practice Spreadsheet
You can copy our practice spreadsheets and docs files by clicking on the following links. The spreadsheet contains an overview of the datasheet and an outline of the step-by-step guide on how to print mailing labels from Google Sheets.
Step-by-Step to Print Mailing Labels from Google Sheets
The process of printing mailing labels consists of a few simple steps. Follow the steps below to learn the basics of printing mailing labels. Once you get the basic idea, you can try advanced options. Now, let’s start.
Step1. Creating a Dataset
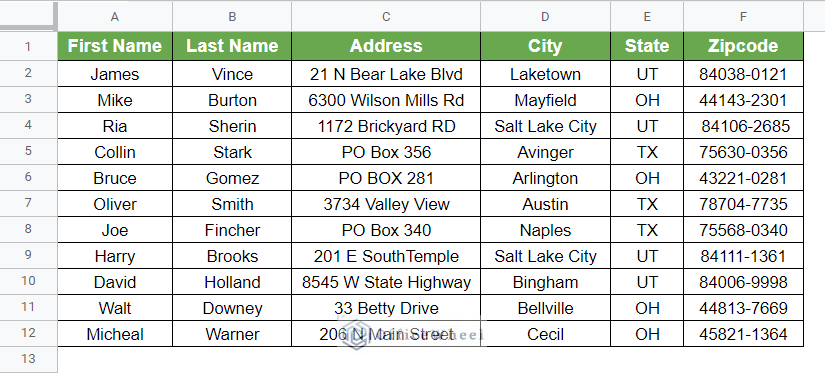
- A basic mailing label contains shipping information consisting of name, shipping location (address, city, state, and Zip code), and cautionary advice if required.
- So, our first step in printing mailing labels is to create a dataset like the following.
Read More: How to Print Header on Each Page in Google Sheets
Step 2. Installing Create and Print Labels Add-on
- Now, assuming the Create & Print Labels – Label Maker for Avery and Co add-on is not installed in our Google Sheets file, let’s install the required add-on from Google Workspace Marketplace.
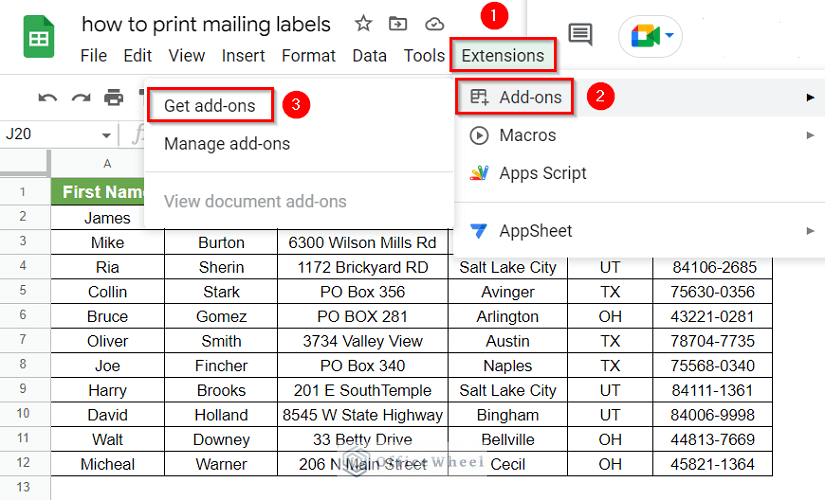
- For that purpose, go to the Extensions ribbon first, then select Add-ons from the appeared list, and finally click on the Get Add-ons command.
- At this time, a pop-up window like the following will appear. Click on the Search Apps icon.
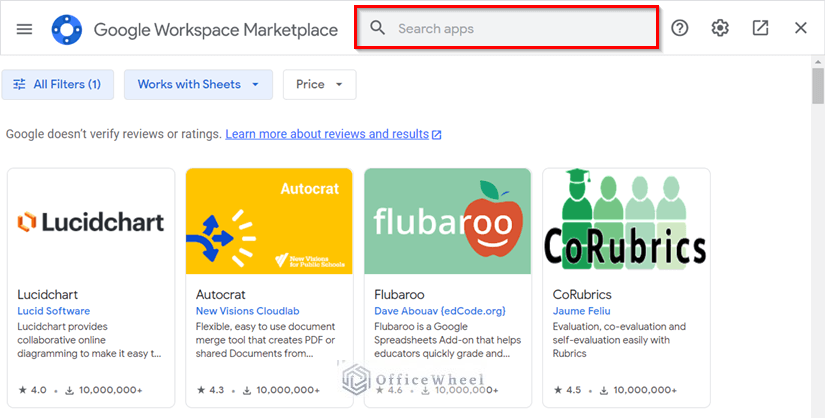
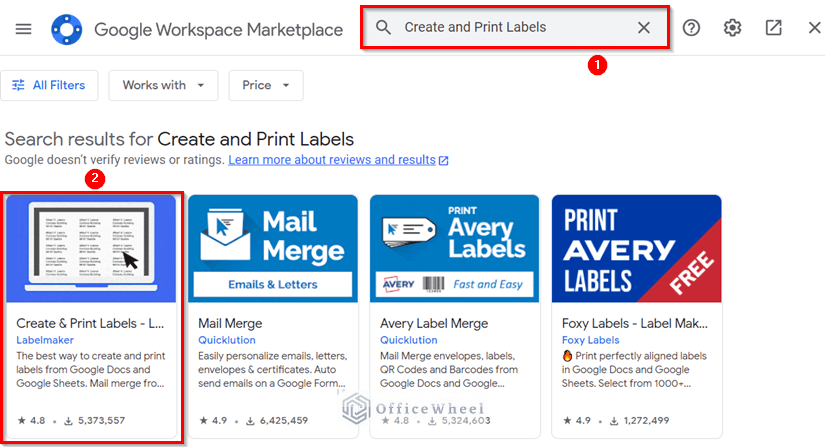
- Type in “Create and Print Labels” in the search box and press Enter key from your keyboard.
- Afterward, from the search results, select the Create & Print Labels – Label Maker for Avery and Co add-on.
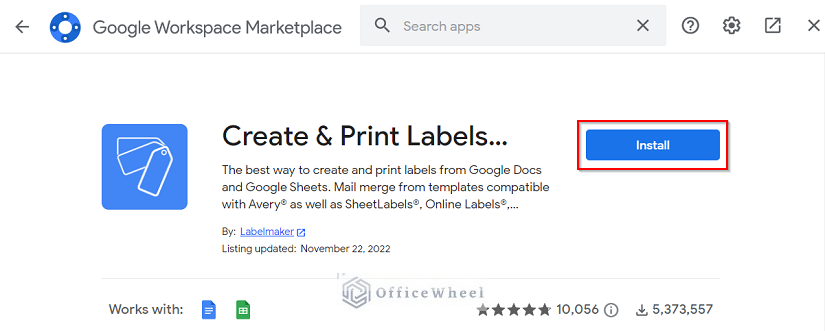
- After selecting the mentioned Add-on, click on the Install button to install the add-on in our Google Sheets.
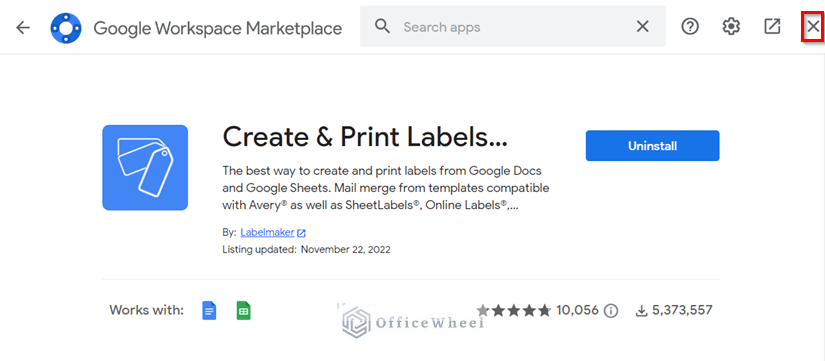
- After installing the required add-on, close the pop-up window.
Read More: How to Print Labels from Google Sheets (With Quick Steps)
Step 3. Opening Create and Print Labels Add-on
- Now, go to the Extensions ribbon again. This time we can also see the Create & Print Labels – Label Maker for Avery and Co add-on on the appeared list. Click on it first and then select the Create Labels command.

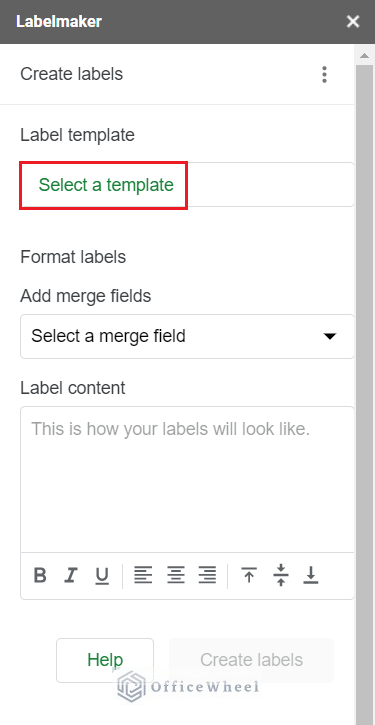
- At this point, a sidebar like the following will appear. Now, click on the Select a Template command.
Step 4. Selecting Suitable Template
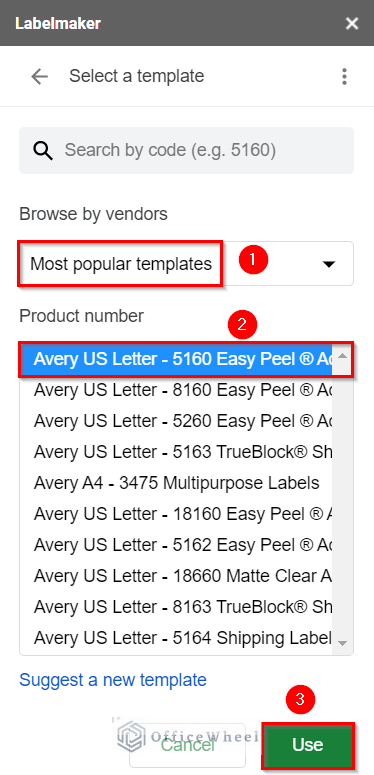
- Consequently, the sidebar will change like the following. Now, we can a suitable template by the vendors or product number. Select a suitable template according to the requirement. I’ll select the Avery US Letter – 5160 Easy Peel ® Address Labels template.
- Afterward, click on Use.
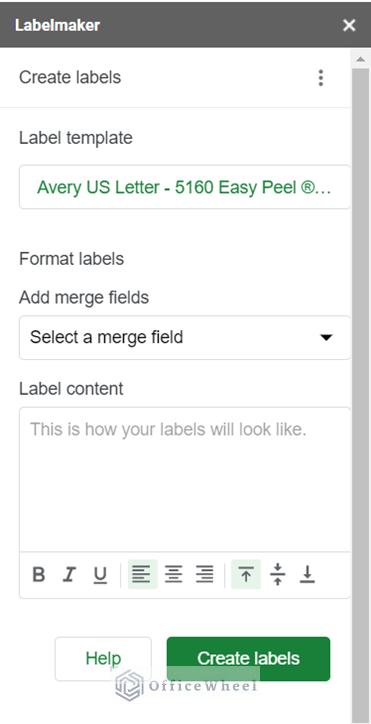
- Now, the sidebar has changed to the following. We have to select the label format here.
Similar Readings
- How to Print Preview in Google Sheets (2 Easy Examples)
- Print Only Certain Columns in Google Sheets (3 Ways)
- How to Print Row Numbers in Google Sheets (4 Useful Methods)
- Print in Landscape in Google Sheets (2 Simple Ways)
Step 5. Creating and Formatting Labels
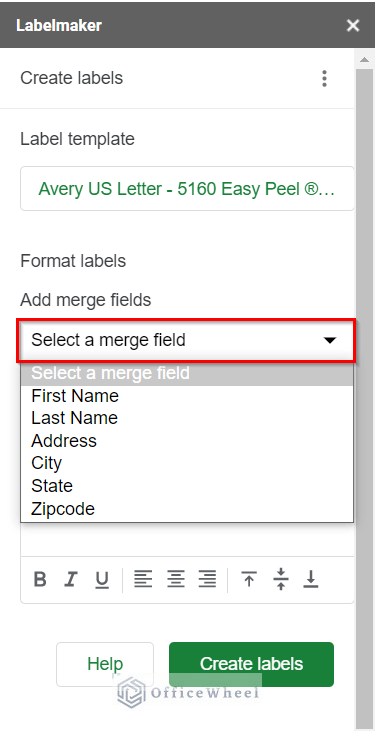
- Click on the drop-down icon of the Select a Merge Field option and select the merge fields.
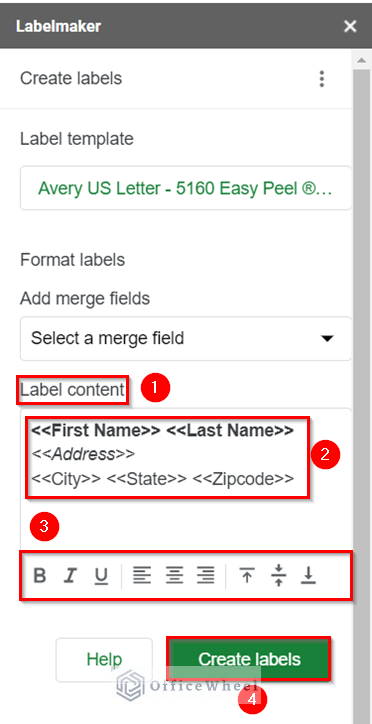
- Format the label content according to your requirement. I have used the following format. You can also apply font format and horizontal and vertical alignment features.
- Now, click on Create Labels.
Step 6. Generating Document with Labels
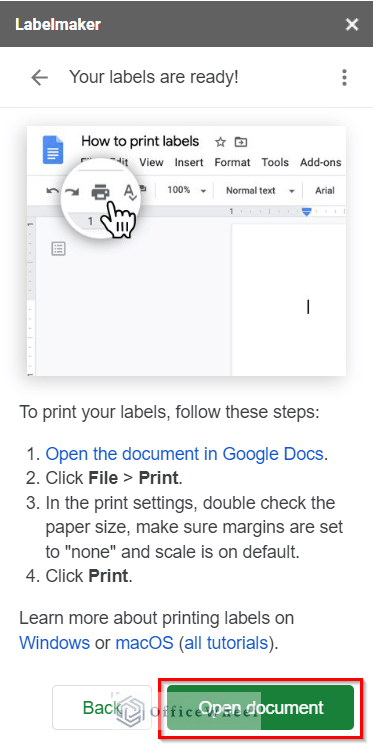
- The sidebar will change to the following now. Afterward, click on the Open Document button to open a doc file with mailing labels.
Read More: How to Print Google Sheets on One Page (2 Distinct Scenarios)
Step 7. Opening Generated Document
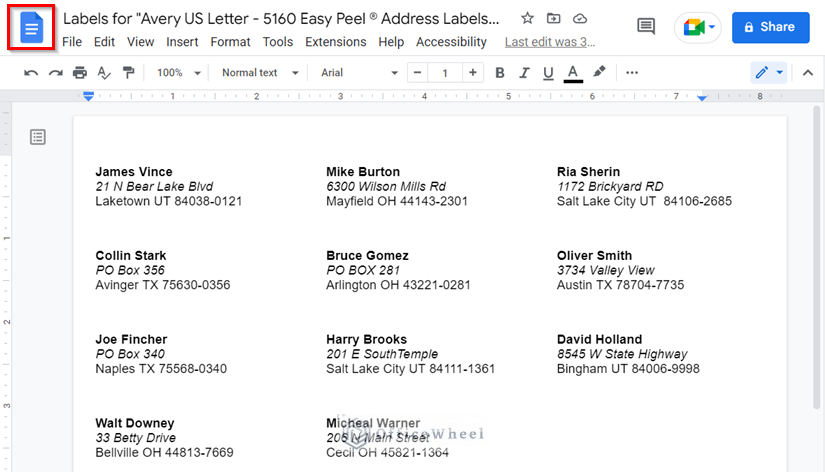
- At this time, a Google Docs file like the following will be opened in your browser. As we can see, the Google Docs file contains mailing labels according to the specified format.
Step 8. Printing Mailing Labels
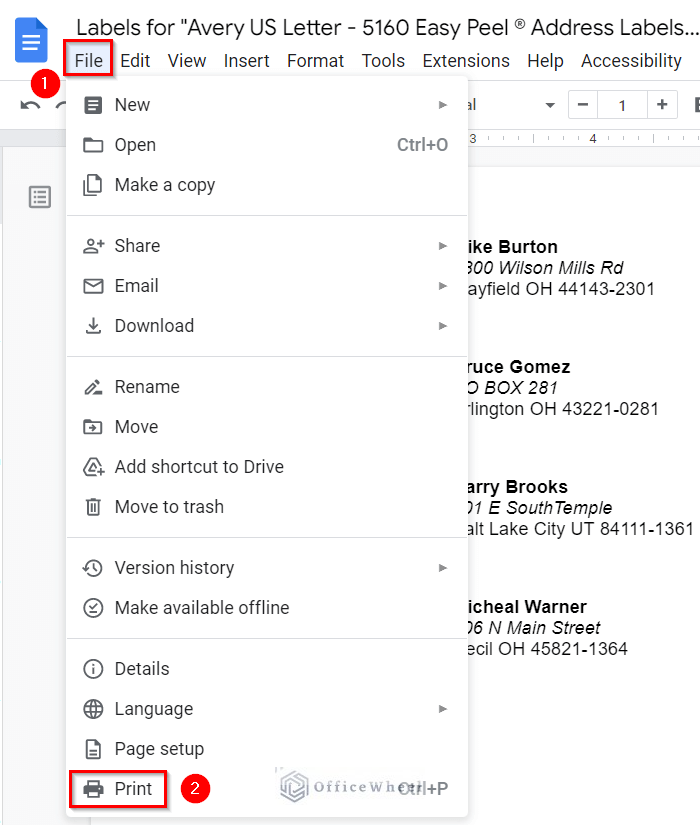
- Finally, let’s print the mailing labels now. For that, go to the File ribbon in your Google Docs file and select the Print command from the appeared options.
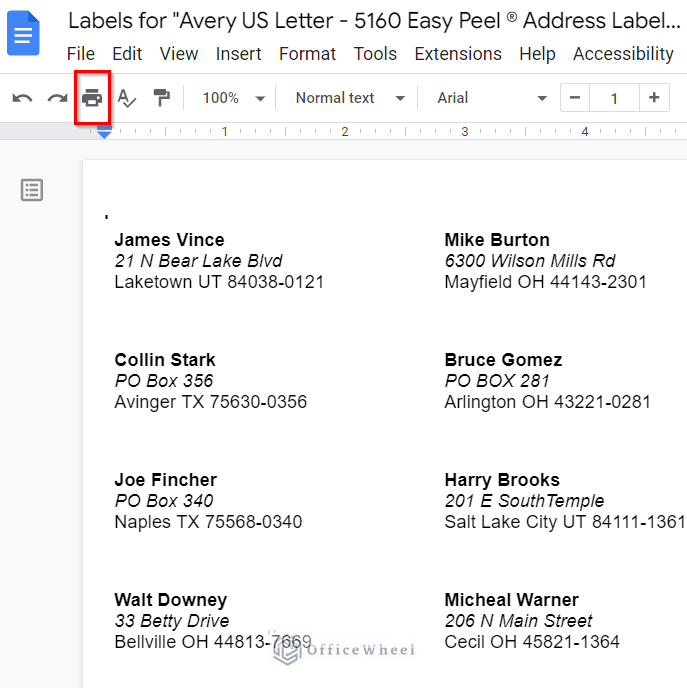
- We can also select the Print command from the clipboard menu or by using the keyboard shortcut CTRL+P.
- A pop-up window like the following will appear. Here, you can change the print options if you require. You can also change the paper size, margin, scale, etc. options from the More Settings option.
- Lastly, click on the Print command.
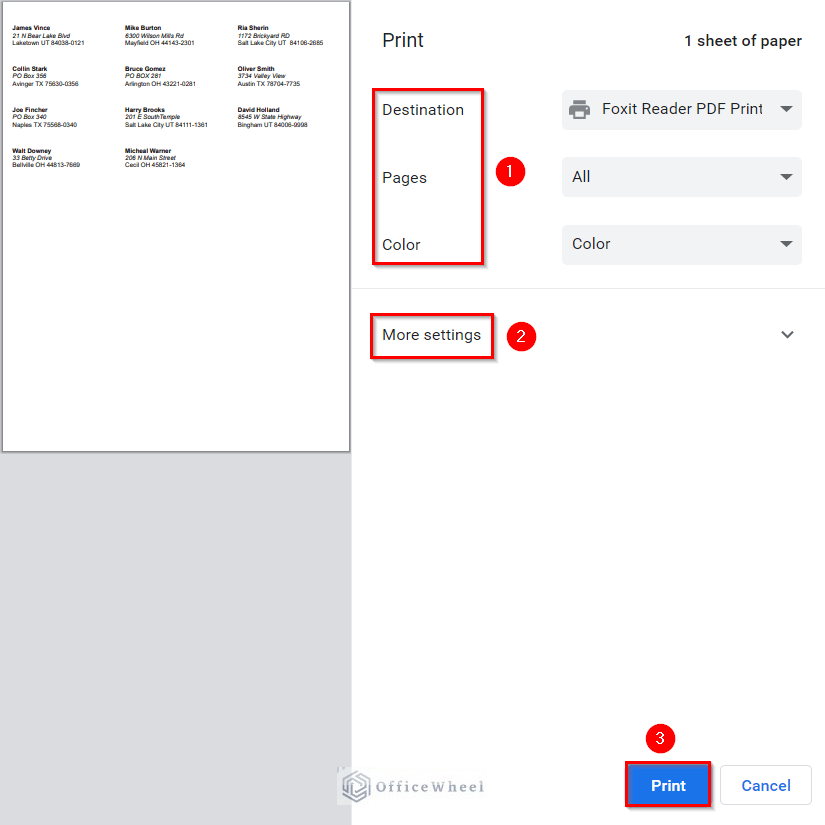
- After selecting the Print command with the Foxit Reader PDF Printer designation, a PDF of the Google Docs file will open in the Foxit Reader app. However, you may choose the default PDF reader of your computer.
Read More: How to Print to PDF Using Apps Script in Google Sheets
Things to Be Considered
- For proper execution of the Add-on to print mailing labels, the heading row of the dataset has to be row 1 in our dataset.
Conclusion
This concludes our article to learn how to print mailing labels from Google Sheets. I hope the demonstrated steps were sufficient for your requirements. Feel free to leave your thoughts on the article in the comment box. Visit our website OfficeWheel.com for more helpful articles.