Printing labels from Google Sheets can greatly simplify the process of organizing and labeling items. With the ability to import data from a Google Sheet and format it into a label format, you can save time and streamline the labeling process. In this article, I’ll demonstrate a step-by-step guide to print labels from Google Sheets. Here is an overview of what we will archive:
Is There Any Built-in Command to Print Labels from Google Sheets?
There is no built-in command to print labels from Google Sheets. But we can use add-ons to do so. Here, we will use the Create & Print Labels – Label Maker for Avery and Co add-on to print labels from Google Sheets.
Step-by-Step Guide to Print Labels from Google Sheets
There are some easy steps involved in printing labels. You can quickly print labels from Google Sheets, saving time and streamlining the labeling process, by following the steps shown below.
Step1. Making a Dataset
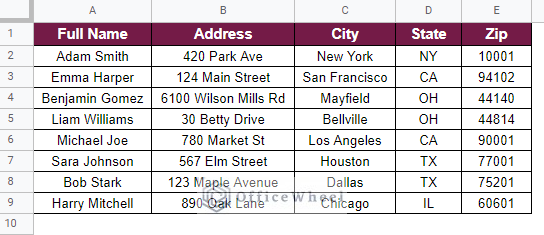
- Create a new Google Sheet if you don’t already have one with the information you wish to use for your labels. Open the current sheet if you have one. Typical label information includes name, address, city, state, zip code, etc. Therefore, the first step in printing labels is to generate a dataset that looks like the one below.
- The dataset’s header row must be row 1 in order for the Add-on to print labels correctly. Therefore, check that the data in your Google Sheets is formatted correctly for your labels.
Read More: How to Print Header on Each Page in Google Sheets
Step 2. Installing Create and Print Labels Add-on
- If the Create & Print Labels – Label Maker for Avery and Co add-on is not already installed in our Google Sheets file, first install it from the Google Workspace Marketplace.
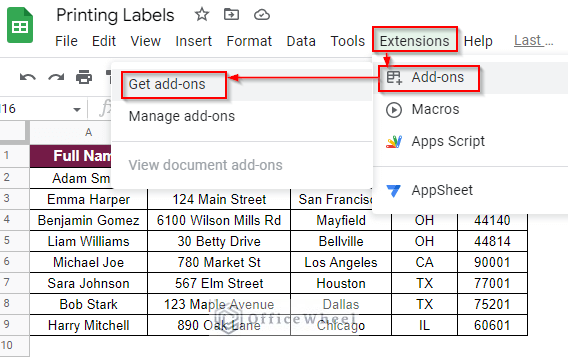
- To do so, first, click the Extensions tab, then choose Add-ons from the list that appears, and lastly click the Get Add-ons option.
- As a result, a pop-up window titled Google Workspace Marketplace will appear on your screen. Next, click on the Search apps box.
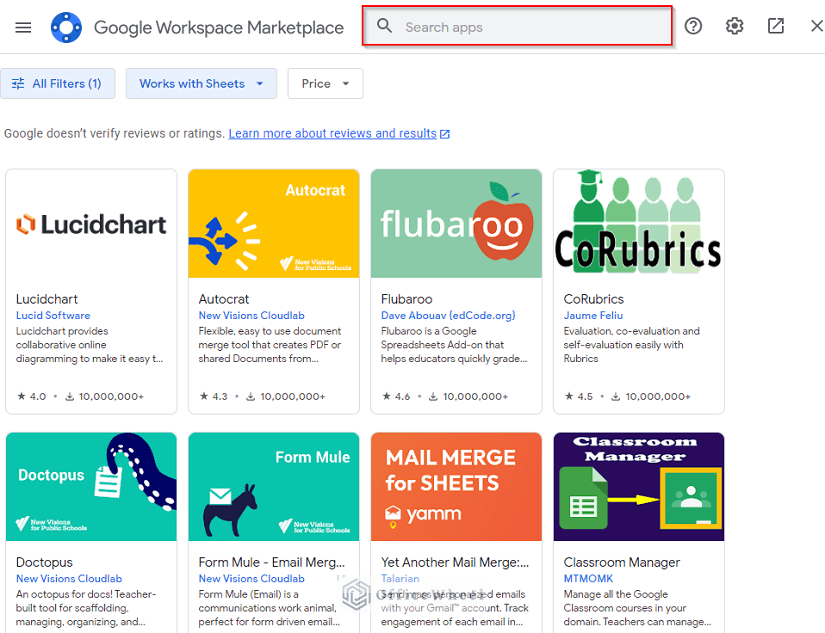
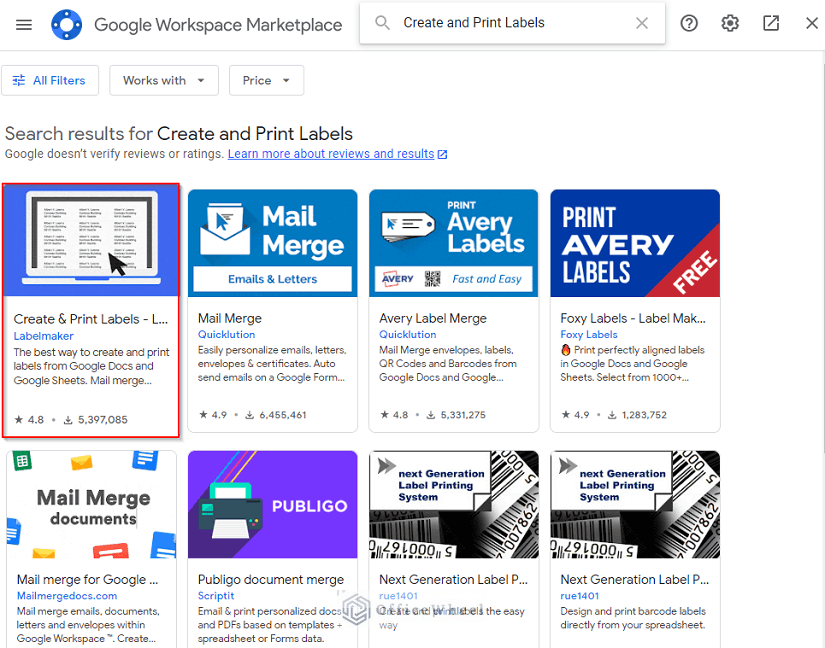
- In the search box, enter the phrase Create and Print Labels and press Enter. Then choose the Create & Print Labels – Label Maker for Avery and Co add-on from the search results.
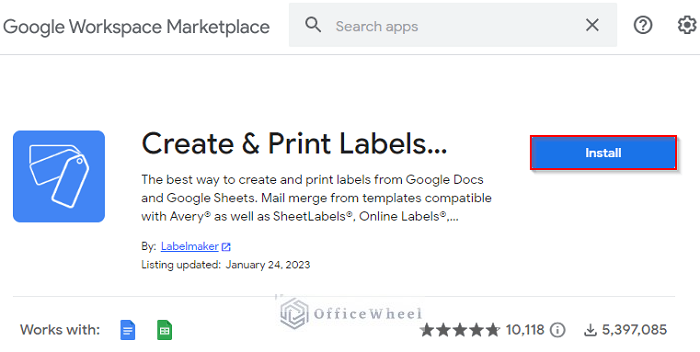
- After choosing the aforementioned add-on, press Install to add it to our Google Sheets.
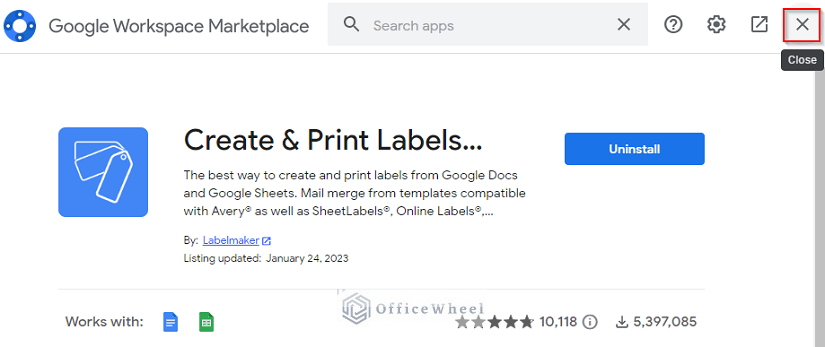
- Afterward, click on the Close icon to close the pop-up window once the necessary add-on has been installed.
Read More: How to Print Mailing Labels from Google Sheets (With Easy Steps)
Step 3. Launching Create and Print Labels Add-on
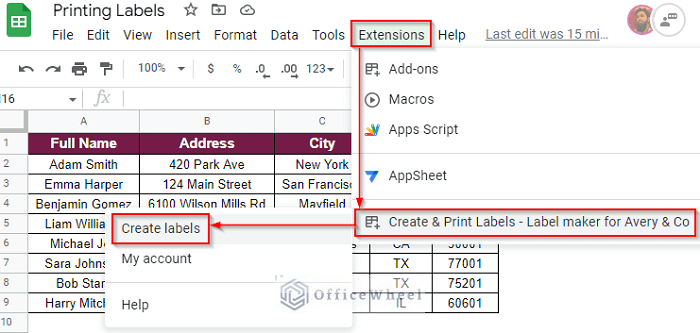
- Now, go to the Extensions tab again. After installing Create & Print Labels – Label Maker for Avery and Co, you will see it under the Extensions tab.
- Click it and select the Create labels option from it.
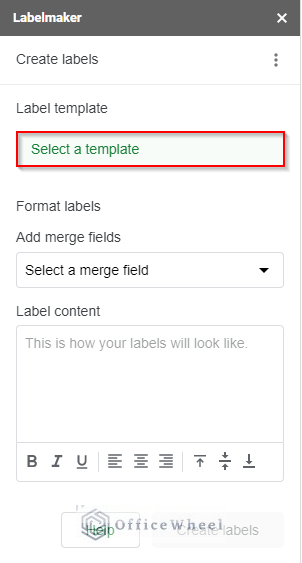
- As a result, a dialog box titled Labelmaker will appear on your screen.
- Next, click on the Select a Template command.
Step 4. Choosing Label Template
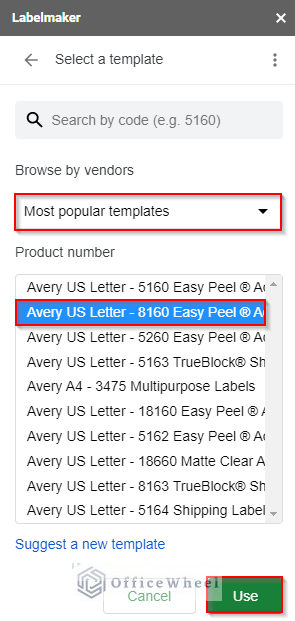
- The dialog box will therefore update to look as follows. By suppliers or product numbers, we may now choose an appropriate template. Depending on the requirements, choose an appropriate template. I’ll choose the template of Avery US Letter – 8160 Easy Peel ® Address Labels.
- Click Use after that.
Similar Readings
- How to Print Preview in Google Sheets (2 Easy Examples)
- Print Only Certain Columns in Google Sheets (3 Ways)
- How to Print in Landscape in Google Sheets (2 Simple Ways)
- Print Row Numbers in Google Sheets (4 Useful Methods)
Step 5. Inserting and Formatting Labels
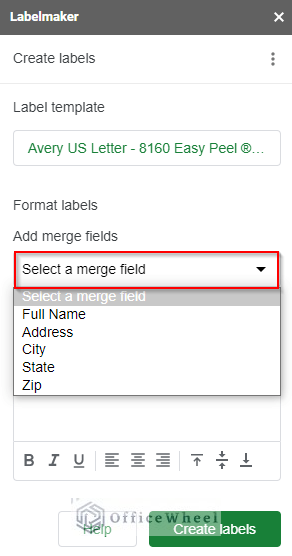
- Here, we need to choose the label format. To choose a merging field, click the drop-down arrow next to Select a merge field.
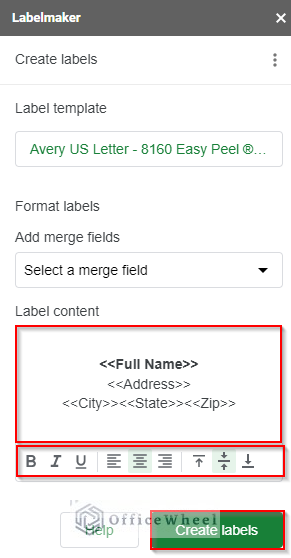
- Next, as per your needs, format the label’s content. Additionally, you may use the font format and vertical and horizontal alignment options. I applied the format below.
- Click Create Labels to continue.
Step 6. Inserting Labels in a Doc File
- The dialog box will now look as follows. After that, select the Open document option to launch the labeled document.

Step 7. Opening Doc File
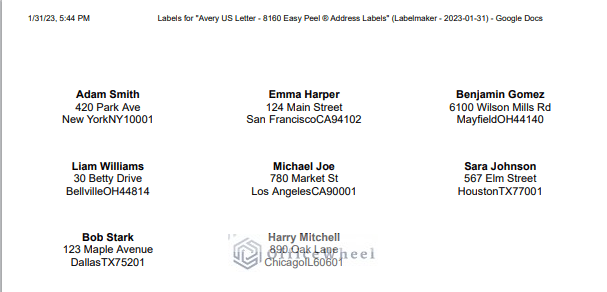
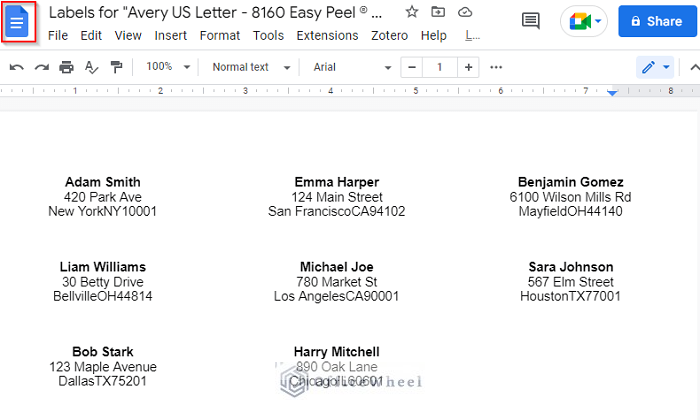
- The following Google Docs document will now be opened in your browser. The labels in the Google Docs file follow the format you have applied.
Read More: How to Print Google Sheets on One Page (2 Distinct Scenarios)
Step 8. Printing Labels
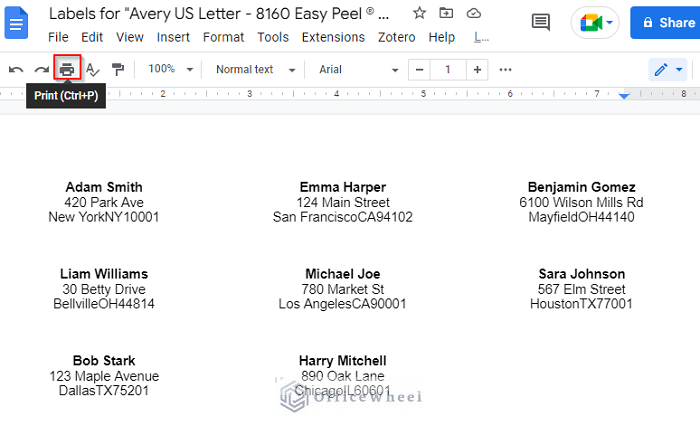
- Let’s print the labels now, to finish. To do that, either click the Print icon from the top menu bar or just hit the Ctrl+P button.
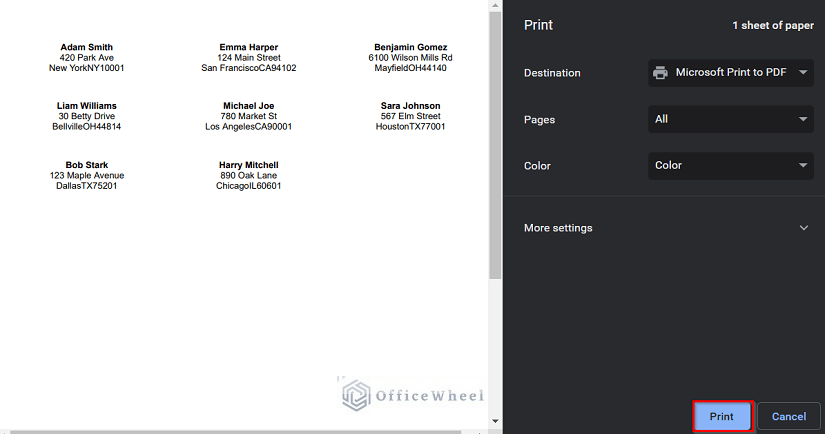
- The following pop-up window will show up. Here, if necessary, you may modify the print settings.
- Finally, click Print to print the labels.
Read More: How to Print to PDF Using Apps Script in Google Sheets
Things to Be Considered
- The dataset’s header row must be row 1 in order for the Add-on to print labels correctly. So make sure your dataset is in the correct format.
Conclusion
This puts an end to our article. In this article, I’ve covered a step-by-step process to print labels from Google Sheets. I hope this will meet your requirements. Please feel free to leave any queries or suggestions in the comment section below. For more of these informative articles on Google Sheets, visit our site Officewheel.com.