Printing Header on each page is important for conveying clear information about the data. Someone may become bamboozled looking at numeric or text entries on page after page of a printed spreadsheet without any header. However, printing the header on each page requires multiple tasks to perform before printing. In this article, we are going to demonstrate a step-by-step solution to print header on each page in Google Sheets.
A Sample of Practice Spreadsheet
You can download the spreadsheets from the link below. The spreadsheets contain a dataset we use here.
Step by Step Procedures to Print Header on Each Page in Google Sheets
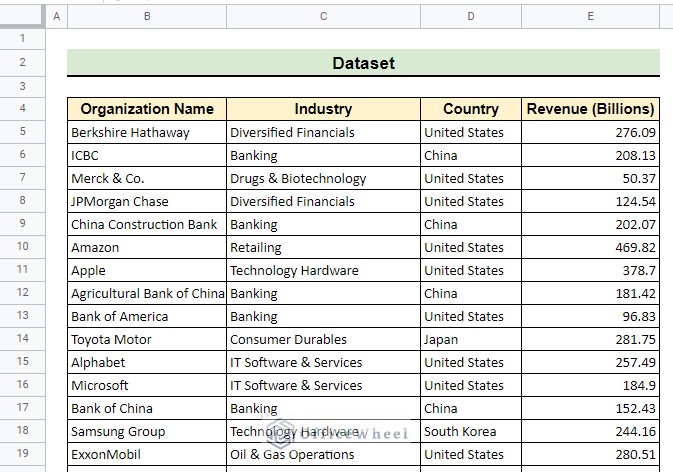
Printing header on each page is often necessary for clarification of the data. In this article, we try to provide a stepwise solution to print header on each page in Google Sheets using the following dataset.
Step 1: Freezing Header Rows
This is the first and foremost step we need to complete for printing header on each page. But, we can easily do that by following the instructions below.
- First of all, we click on View from the menu bar.
- Next, we go to Freeze >> 2 Rows.

- As a result, we got a gray freezing line just below the second row of our dataset.
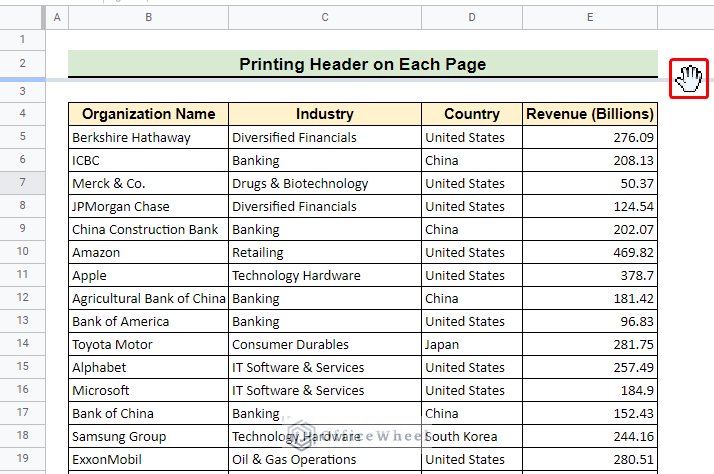
- Afterward, we hover the mouse over the freezing line until the cursor changes to a hand icon as indicated in the image below.
- Then we drag it down to the desired position by holding the left key of the mouse. In this case, we drag down the freezing line up to row 4 to freeze all the headers of the dataset.
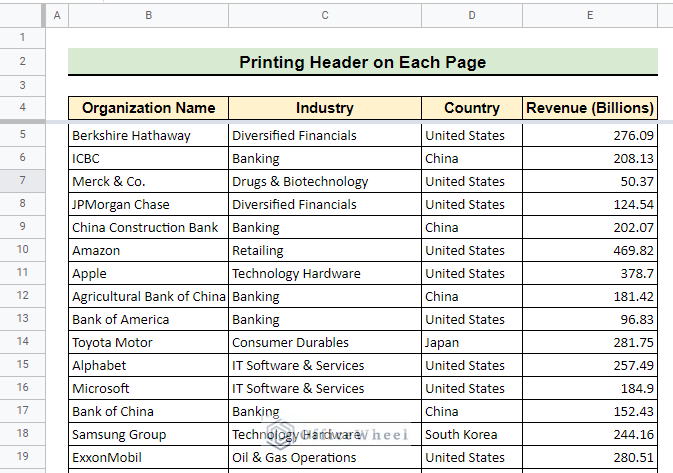
- Dragging the freezing line up to row 4 freezes the desired rows of our dataset that contain headers like the image below.
Read More: How to Print Google Sheets on One Page (2 Distinct Scenarios)
Similar Readings
- Print Mailing Labels from Google Sheets (With Easy Steps)
- How to Print Only Certain Columns in Google Sheets (3 Ways)
- Print Row Numbers in Google Sheets (4 Useful Methods)
- How to Print in Landscape in Google Sheets (2 Simple Ways)
Step 2: Repeating Frozen Rows on Each Page
So far we have done the most important part to print header on each page in Google Sheets. However, this step is also critical and demands careful attention to get the proper output.
- At the very beginning of this step, we select the Print icon or Ctrl+P for printing.
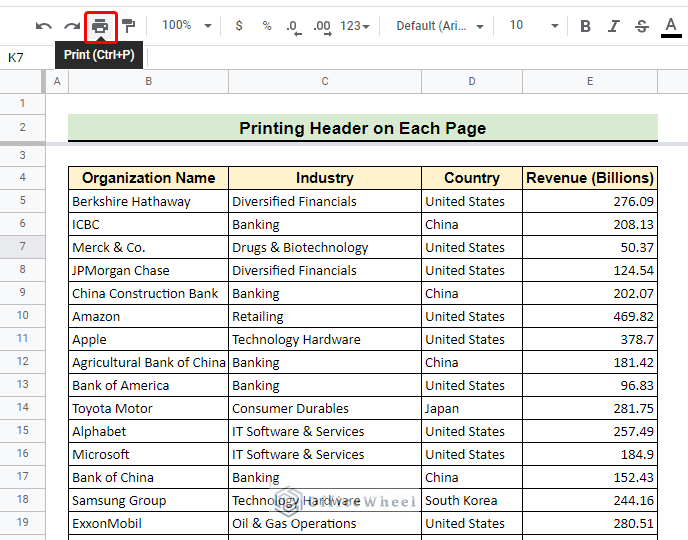
- Consequently, the Print settings window opens as follows.
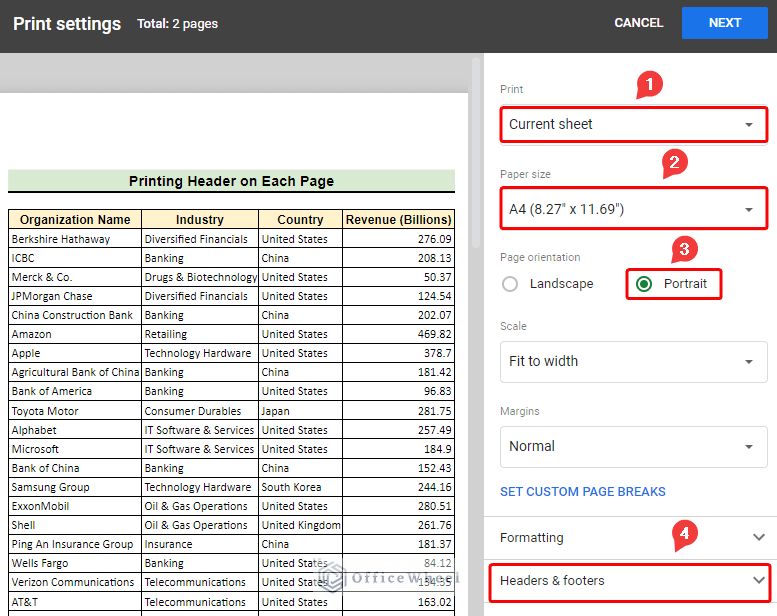
- Now, we check whether Current sheet is selected or not in the Print box.
- Afterward, we select A4 as Paper size and Portrait as Page orientation.
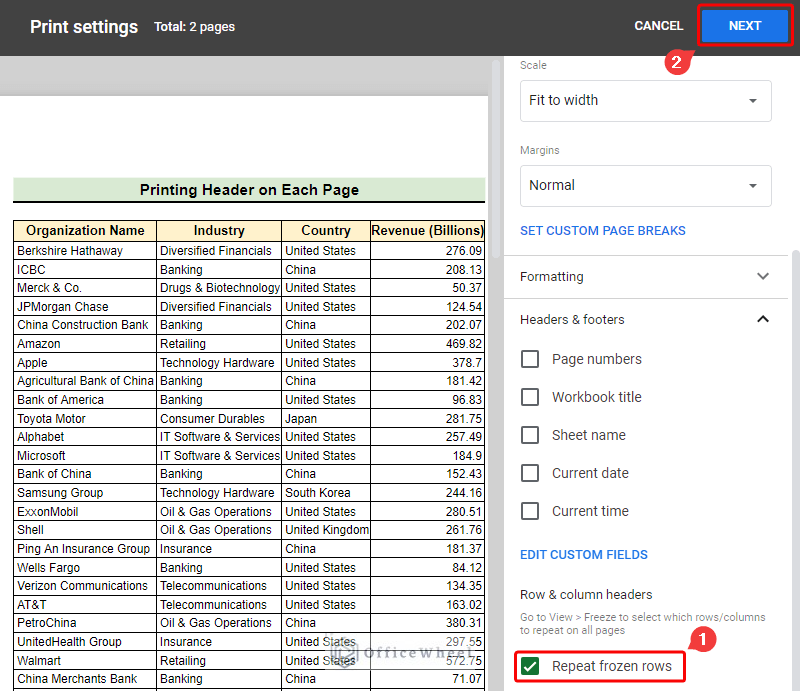
- Then we click on Headers & footers group as indicated.
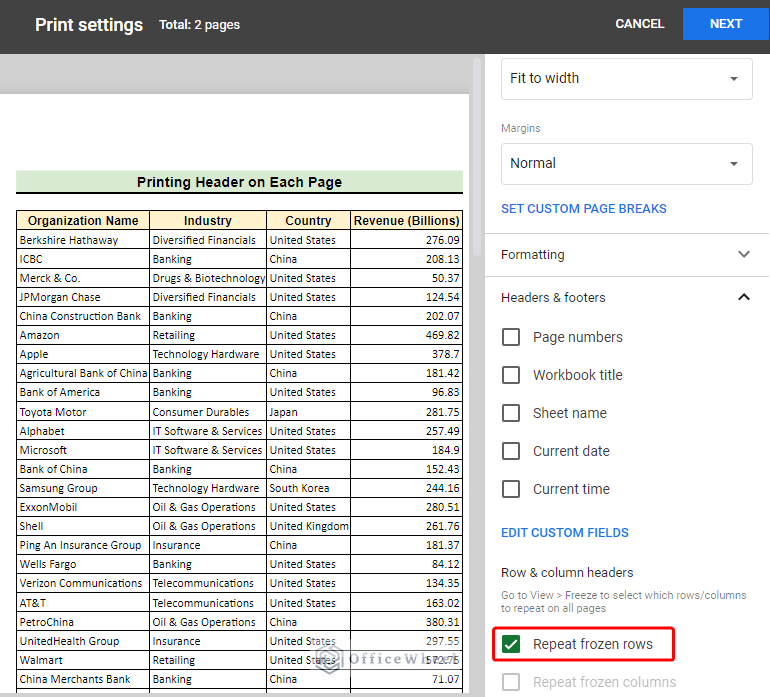
- From Headers & footers, we select Repeat frozen rows as we can see in the image below.
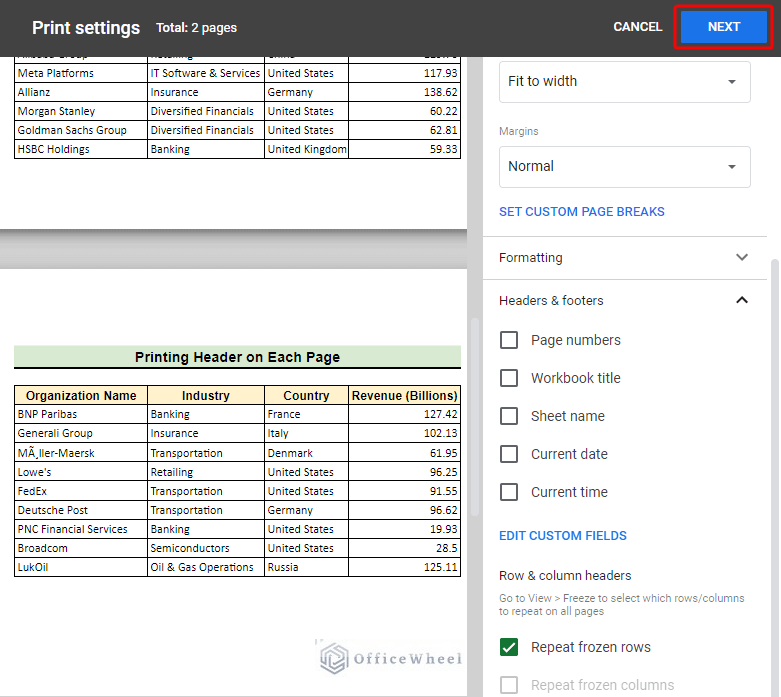
- Now, if we scroll down the printing preview we can see the frozen rows otherwise headers of our dataset on the second page just like the first page.
- Then we click Next as indicated.
Read More: How to Print Preview in Google Sheets (2 Easy Examples)
Step 3: Printing Current Sheet with Header on Each Page
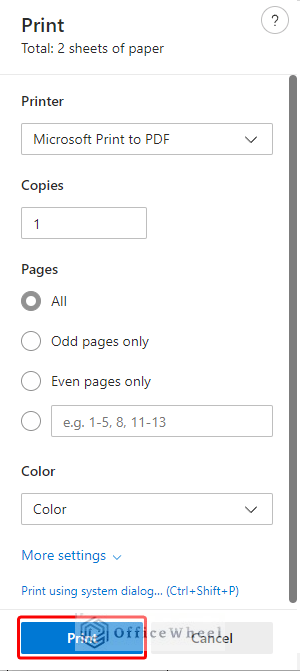
Now, we are on the final line. In this step, we are going to follow the general procedure of printing any document.
- In this step, we just click on Print as indicated to give the confirmation for printing to our computer.
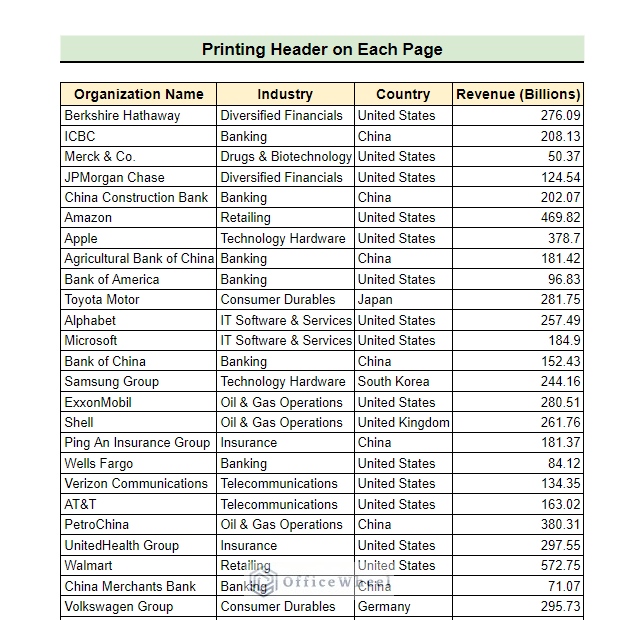
- As a result, we got the printed document with header on the first page of it as follows.
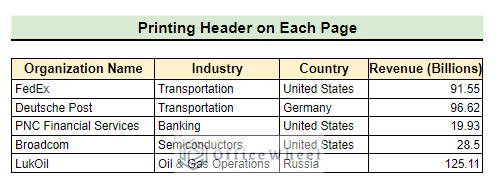
- Finally, the second page of our printed document also has the same header as expected.
Read More: How to Print to PDF Using Apps Script in Google Sheets
Things to Remember
- Be careful and double-check that you freeze the headers of the dataset only.
- Make sure the printer is connected to your computer.
Conclusion
In conclusion, I believe from now on you can print header on each page in Google Sheets. Furthermore, If you have any queries regarding this article feel free to comment below and I will try to reach out to you soon. Visit our website OfficeWheel for the most useful articles.