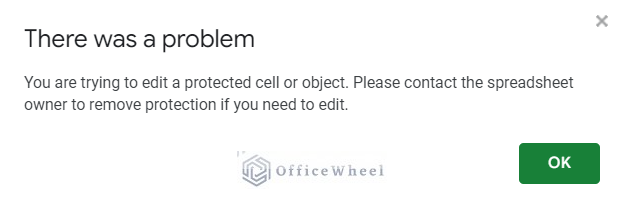
Google Sheets and Excel are the most used software in any working place nowadays. And there may be a need for common access to that spreadsheet for some specific persons. While sharing that dataset, it might be necessary to lock certain cells that contain some important or sensitive data. In this article, we have demonstrated the easiest procedure to lock certain cells in Google Sheets. The output one will get while editing those locked cells will be as follows.
A Sample of Practice Spreadsheet
You can download the spreadsheet used for describing methods in this article from here.
Step-by-Step Process to Lock Certain Cells in Google Sheets
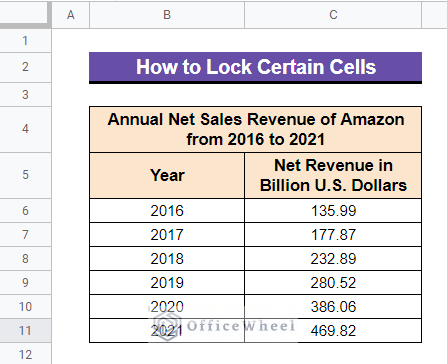
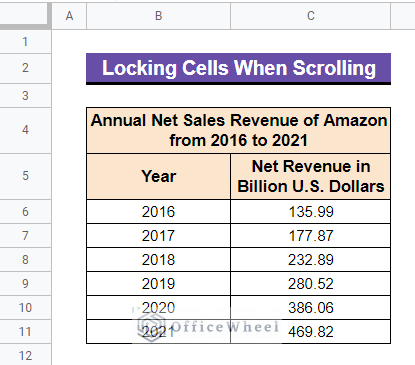
We will be using the following dataset as an example to illustrate the process to lock certain cells. The dataset represents the Annual Net Sales Revenue of Amazon from 2016 to 2021. And assume that, in this dataset, the net revenue column that is within Cell range C6:C11 contains data that is sensitive and you want to lock them for protection.
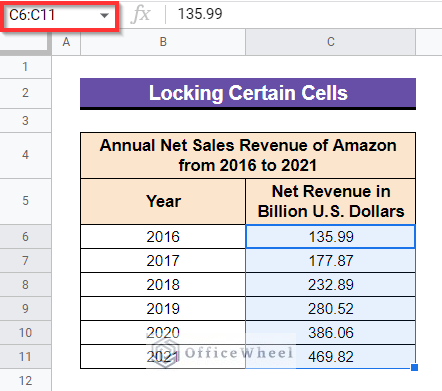
Step 1: Selecting Cell Range
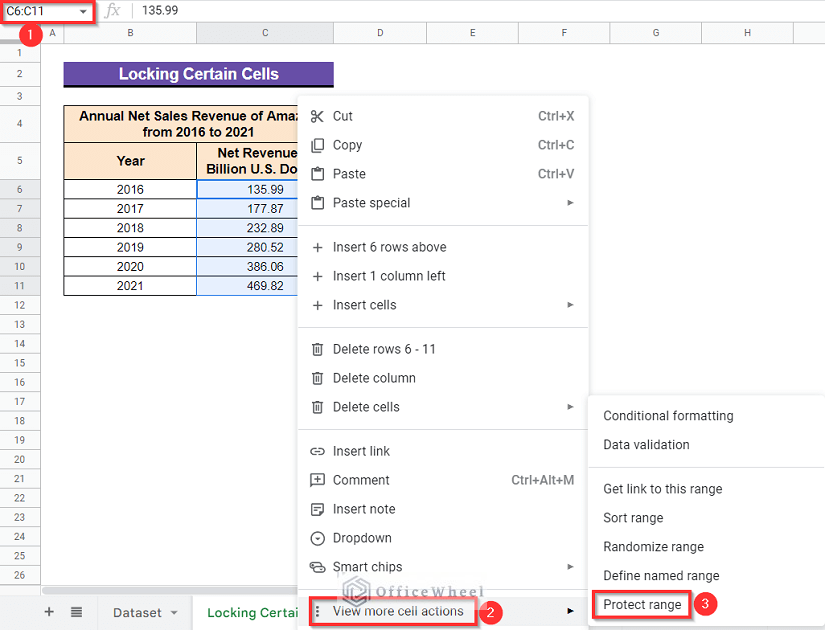
- First, select the Cell range C6:C11.
Read More: How to Lock a Column in Google Sheets (Simple Examples)
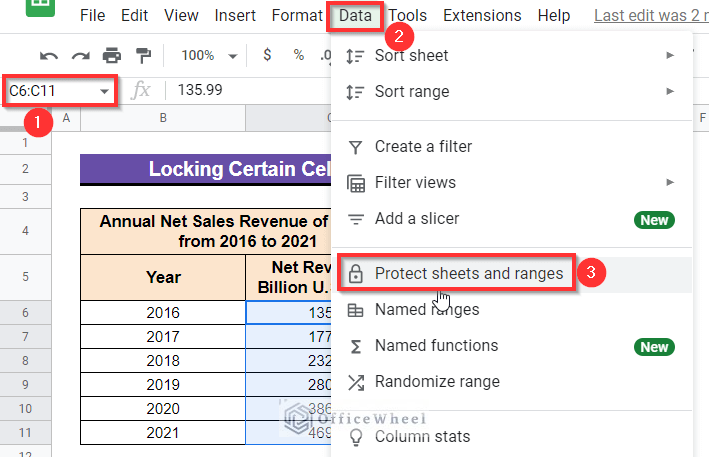
Step 2: Choose Protect Sheets and Ranges Option
- Now, at the toolbar, go to Data then select the Protect sheets and ranges.
- Or you can simply right-click on the selected Cell range C6:C11, then go to View more cell actions and select the Protect range option.
Read More: Protect Range in Google Sheets (Easy Examples)
Step 3: Set Restriction for Specific Range
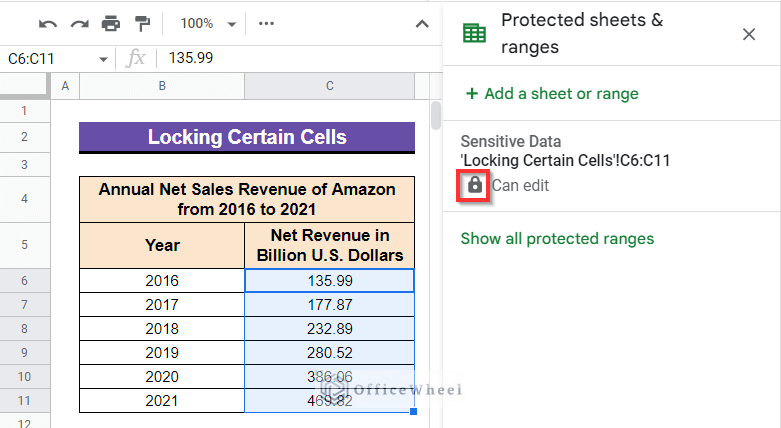
- Following this, a sidebar titled “Protected sheets & ranges” will appear on the right side of your spreadsheet.
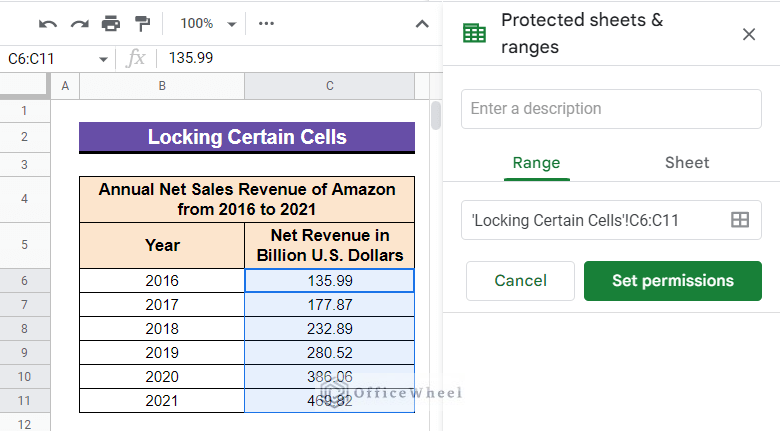
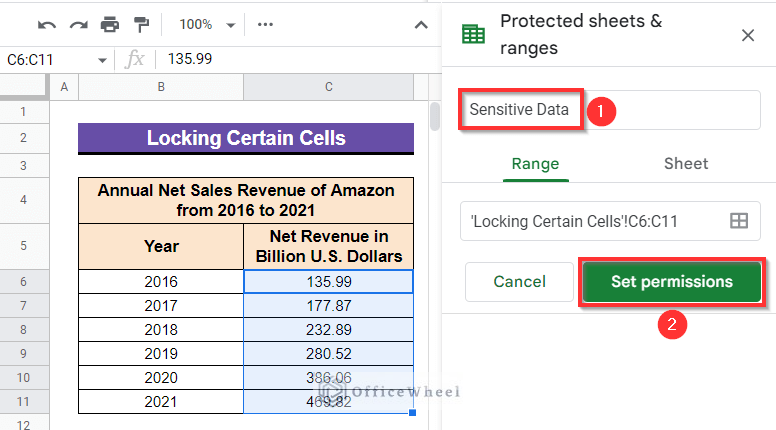
- Now, in that sidebar, you can see an empty box saying “Enter a description” where you can set the description for that selected Cell range C6:C11. Let’s assume, here we will write down “Sensitive Data” and thereafter we will select “Set permissions”.
- Have a look at an interesting fact. In the following sidebar, the range box is written automatically as ‘Locking Certain Cells’!C6:C11. The feature automatically detects the name of your sheet and sets it like that.
- At this time, after selecting Set permissions, a dialog box will appear titled Range editing permissions. Here, you may find the “Restrict who can edit this range” box is already marked and the “Only you” option is already selected by default. If not automatically, then select those as follows and then click on Done.
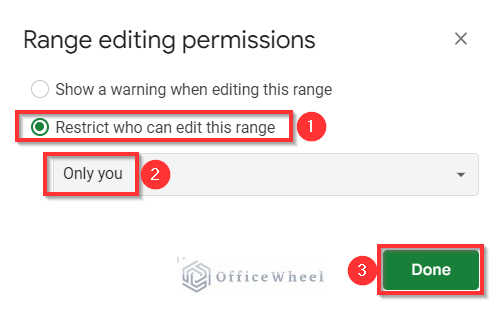
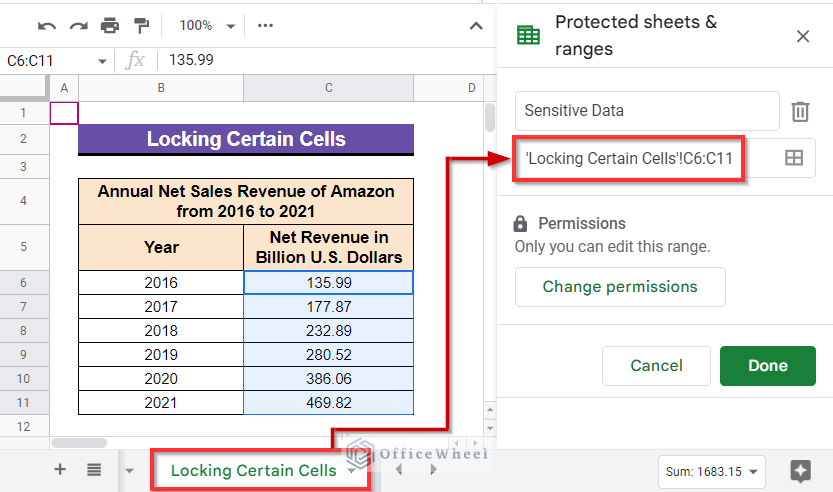
- Finally, the selected Cell range C6:C11 are now locked and further only you can modify them.
- Now, if you share this spreadsheet with others, they will be able to view those cells only. They won’t be able to edit them. Like, here I have shared this file with one of my friends and he tried to edit a cell from the Cell range C6:C11. You can see below what appeared on his screen.

Read More: How to Protect Formulas in Google Sheets (2 Quick Ways)
How to Lock Cells Except for Specific Person in Google Sheets
Previously, we have gone through the step-by-step procedure to lock certain cells. But the amazing fact is, you can set access to those selected cell ranges for some specifically selected persons along with you as well. And the procedure is simple.
Steps:
- First, open Protected sheets & ranges sidebar from the Data ribbon and select the Set Permission option like previously.
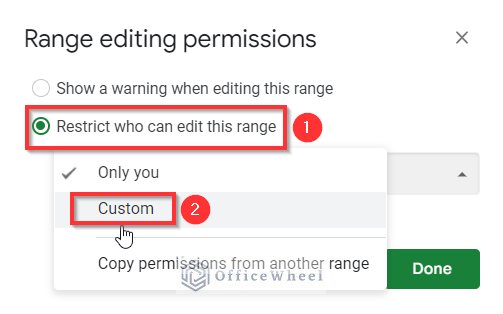
- Then the “Range editing permissions” dialog box will appear on your screen. After that, go to the Restrict who can edit this range drop-down menu and select Custom.
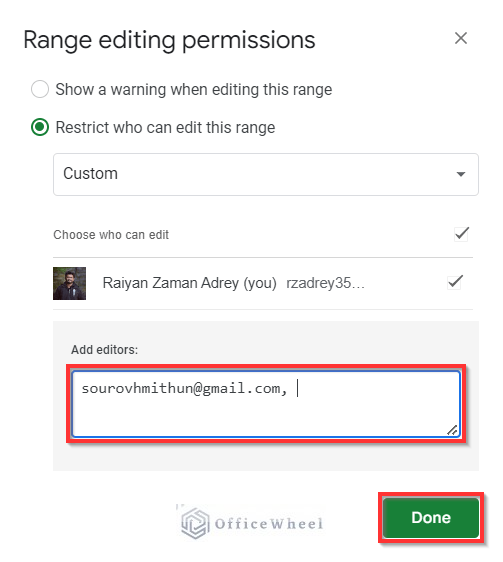
- Following this, you will get the permission to Choose who can edit the selected Cell range C6:C11. Here, you will find the Add editors search box where you have to type down names or email addresses of those persons with whom you want to share access to that selected range of cells.
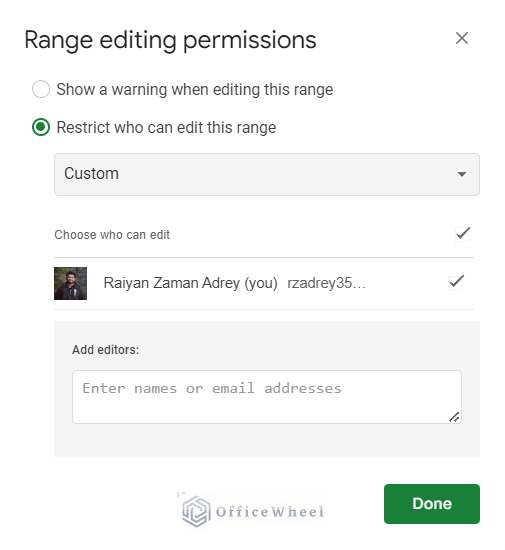
- Simply Enter names or email addresses there to whom you want to give the access to those selected cells. I have given access to my mentor here. After that, press Done.
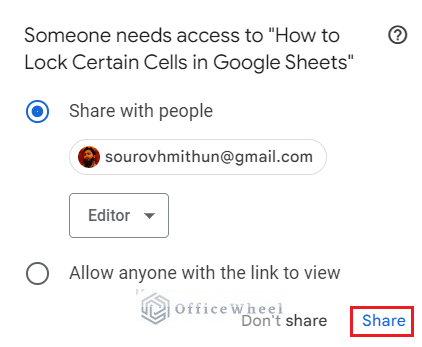
- If the spreadsheet isn’t shared already with the selected person from the Range editing permissions, then you will have the following window pop up on your screen.
Finally, from there, select Share, and you are all done.
Read More: How to Lock Cells with Formula in Google Sheets (with Easy Steps)
How to Set Warning When Someone Is Editing a Specific Cell Range in Google Sheets
You can give access to multiple people and set warnings to specific cell ranges to them while they start editing those cells.
Steps:
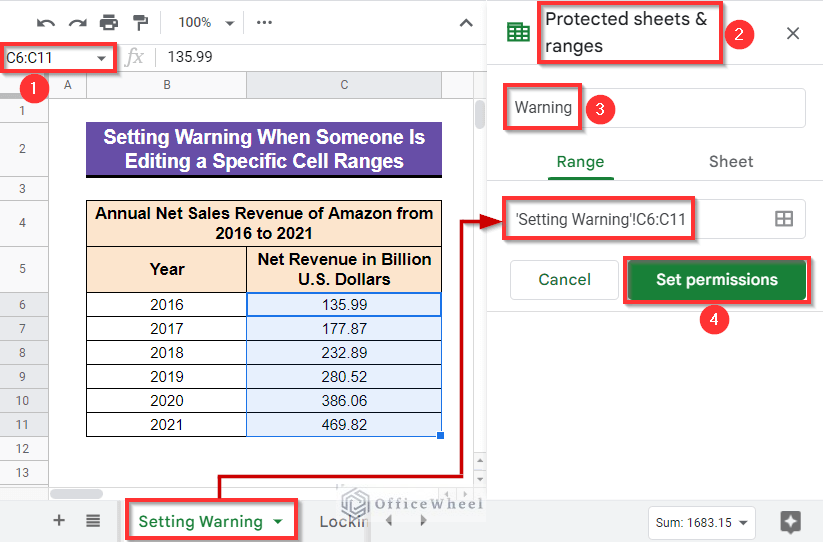
- Select Cell range C6:C11 and simply activate the Protected sheets & ranges sidebar like previously. Type down “Warning” in the Enter a description box and select Set permissions. Here, you will also see that the feature will automatically detect the name of your sheet and set it like that.
- Thereafter, the Range editing permissions dialog box will appear.
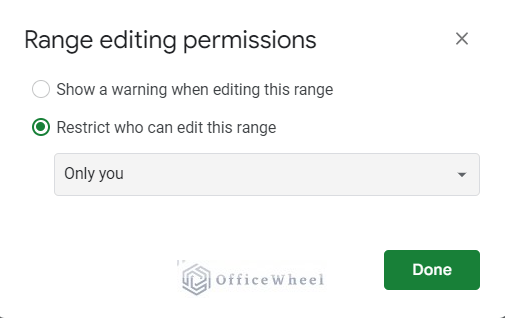
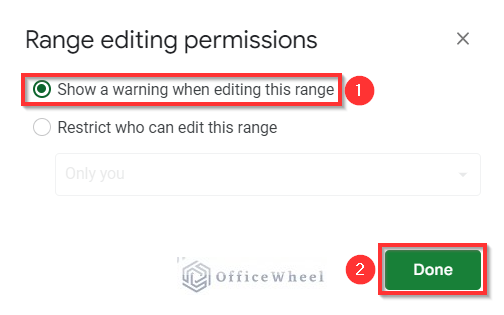
- Mark the Show a warning when editing this range box then select Done and you are all done as well.
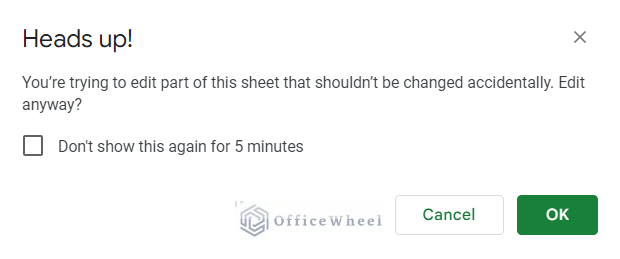
- Now, I have shared this file with one of my friends. What shows on his screen while editing those cells is as below. Obviously, you can see that it’s a warning.
Read More: Conditional Locking Of Cells In Google Sheets (Easy Steps)
How to Lock Cells When Scrolling in Google Sheets
Often we need to input data or know a particular data by seeing the headings of the rows or columns. For that, we may need to lock those headings in order to pin them while scrolling, especially for a long dataset.
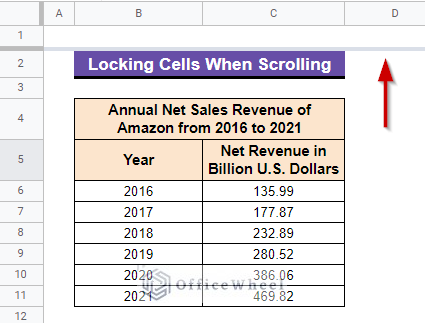
You can lock a specific range of cells along rows or columns when scrolling in Google Sheets easily. Suppose, in the following dataset, you want to lock Row 5.
Steps:
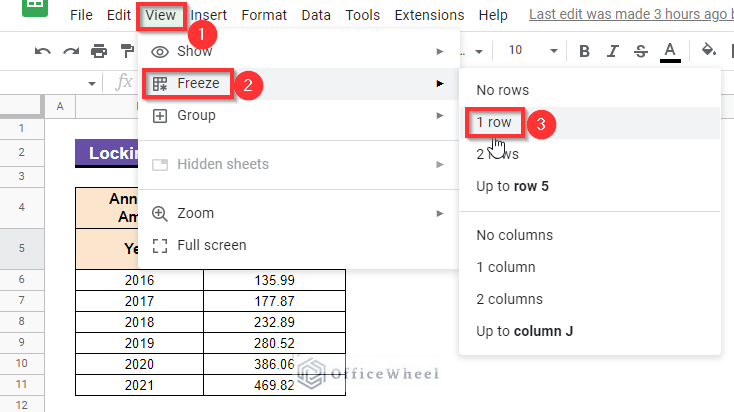
- First, go to View at the toolbar, then select Freeze and then select 1 row.
- Following this process, you will see that a horizontal line will appear on your dataset along row number 1.
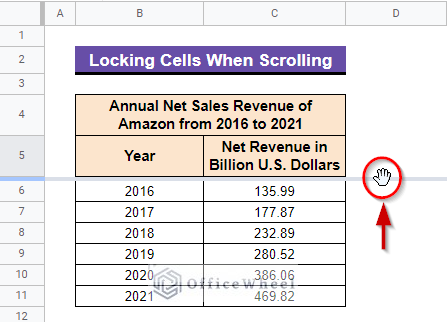
- Now, modify that horizontal line along row 5 using the Hand icon.
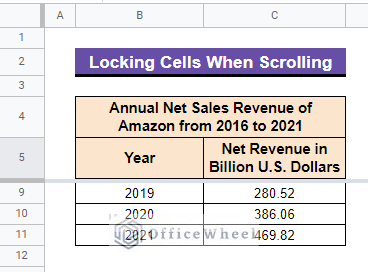
- Finally, you will see that if you scroll below the horizontal line, the cells above the horizontal line will be still there. In the similar process, you can lock cells along columns as well.
Read More: How to Lock Cells in Google Sheets When Scrolling (2 Easy Ways)
Conclusion
This article is all about the procedure to lock certain cells in Google Sheets. Hope this helps with your task. Visit our site officewheel.com to find more related articles that will help you to become more efficient and expert in Google Sheets.