Today we will be looking at the ways to protect a sheet from view in a Google Sheets spreadsheet. The idea and process are simple but very important for the security of any spreadsheet.
Let’s get started.
2 Ways to Protect Sheets From View in a Google Spreadsheet
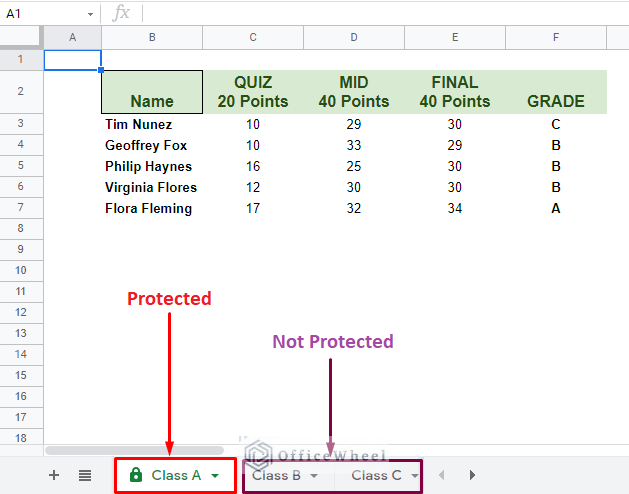
To show our methods today, we have kept our spreadsheet simple. It contains three worksheets, named Class A, Class B, and Class C.
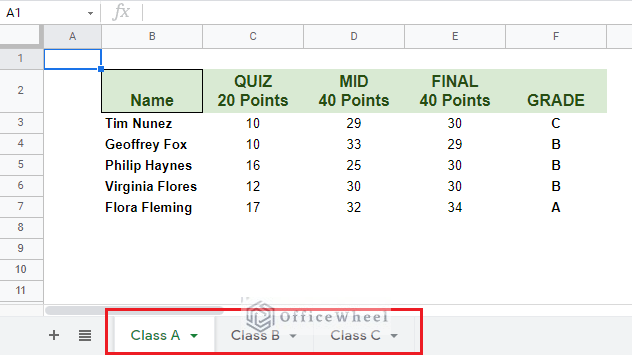
Each of these sheets contains important values and formulas. So, it is crucial that we take measures to protect them.
1. Hide Sheet From View in a Google Spreadsheet
The first method we are going to show you is a simple hiding technique.
Move to the worksheet that you want to hide. Beside the sheet name in the sheet tab, you will see a drop-down arrow:
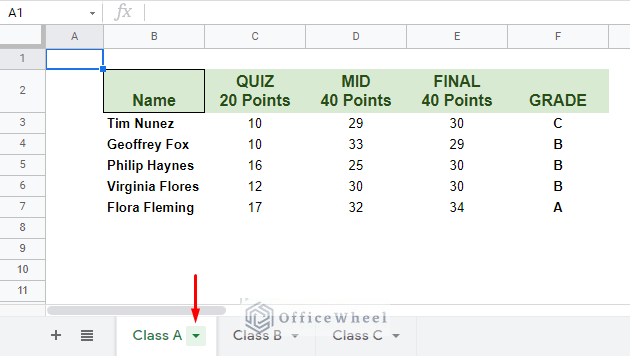
This will open a drop-down menu with various options to implement on your worksheet.
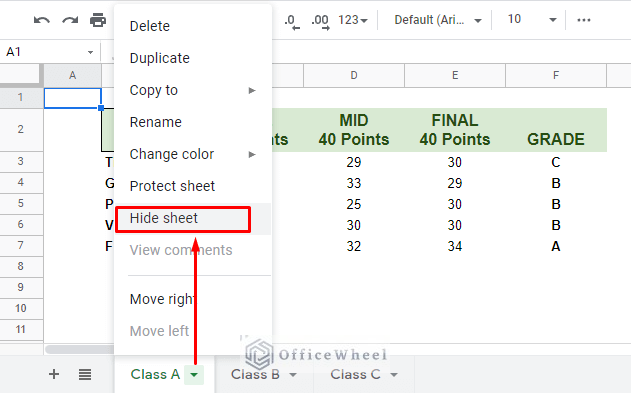
Select the Hide sheet option.
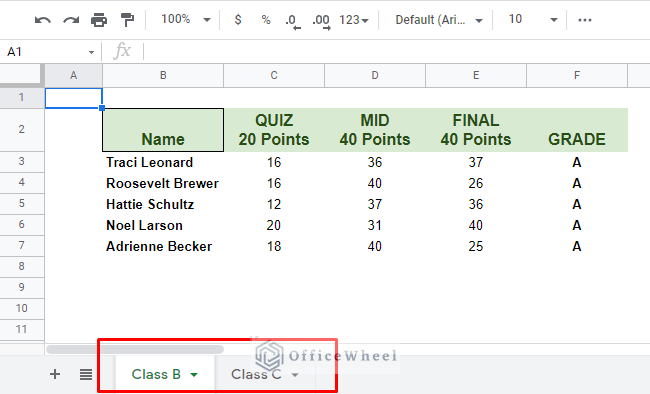
Your sheet should now be successfully protected from view.
Read More: How to Lock Cells in Google Sheets (4 Ways)
Unhide Hidden Sheets
You can just as easily unhide your worksheet from the View tab.
Move to the View tab up top. If sheets are hidden in the spreadsheet, an option will appear called Hidden sheets. Here, you will be presented with the option to Show them.
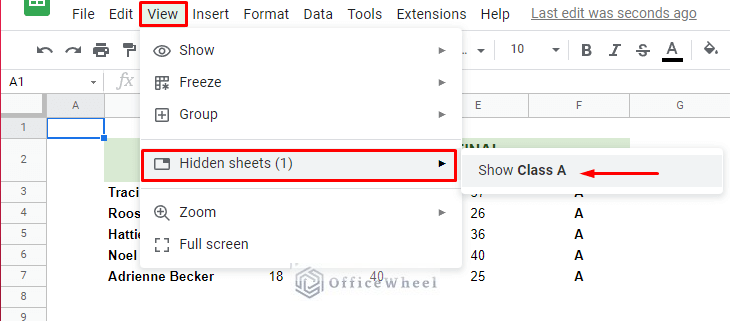
View > Hidden sheets > Show [sheet name]
To conclude, the only downside of this method could be its security. If someone has editing access to the spreadsheet and has the knowledge of the number of sheets available in it, they can easily Unhide the hidden worksheets.
Read More: How to Lock Cells with Formula in Google Sheets (with Easy Steps)
2. Protect Sheet Using Protect Range Option of Google Sheets
A more secure method to protect your worksheet is by using the Protect sheets and ranges option. While users can still view the worksheet, they can’t alter it.
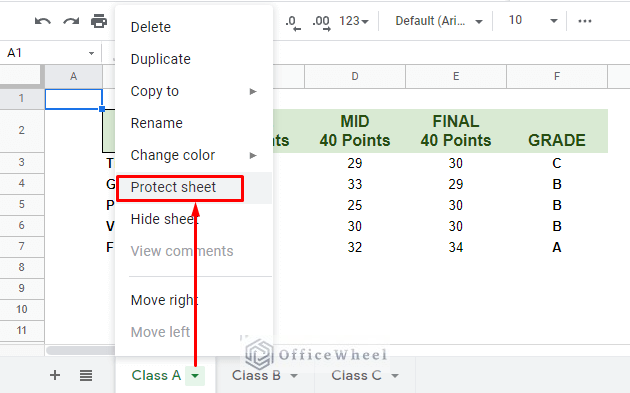
You can directly access the Protect sheet option once again from the sheet tab drop-down menu.
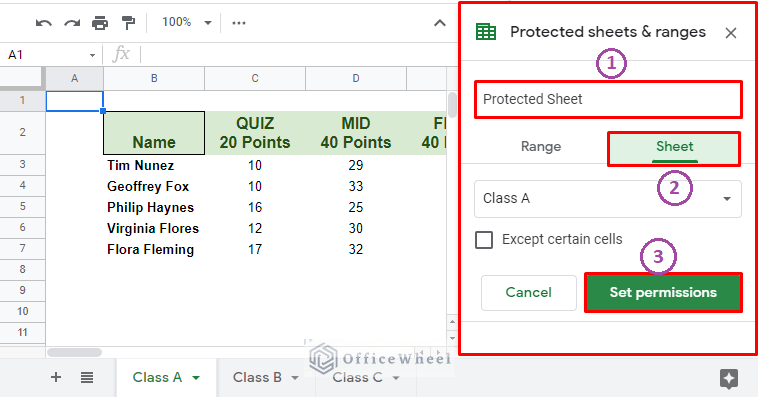
This will open the Protected sheets & ranges option. Here, you have three sections to note:
- You can name your protected sheet.
- The whole current worksheet is selected.
- Click Set permissions to move to the next section.
Clicking on Set permissions will bring you to the Range editing permissions window. We have two basic options to choose from
- Only you: Only you, the owner, have permission to edit this worksheet even if you have shared it with others.
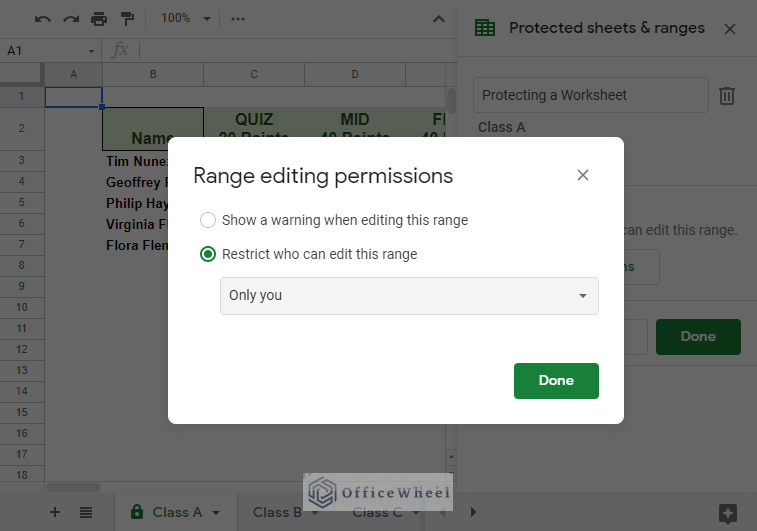
- Custom: This allows you to add collaborators to edit the worksheet. This is usually the best way to go if you are considering collaborating with multiple people in different worksheets.

Click Done to protect your sheet in Google Sheets.
Apply a Soft Warning to the Worksheet
The final option we have in the Range editing permissions window is Show warning when editing this range.
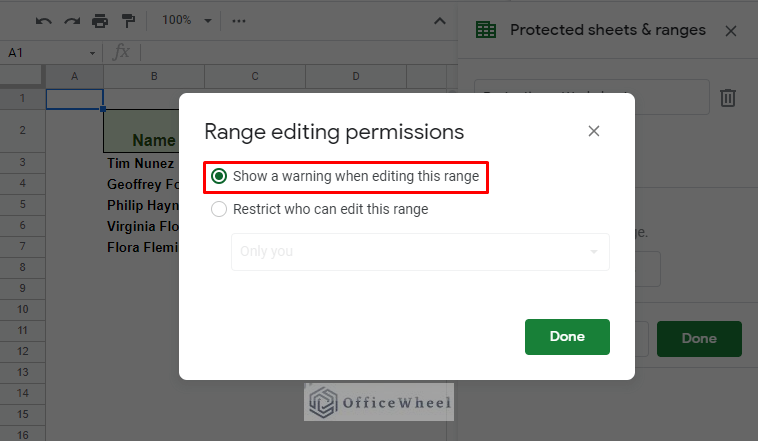
While this option does not restrict anyone from editing the worksheet, it does activate a pop-up warning every time anyone tries to change anything.

Read More: How to Protect Formulas in Google Sheets (2 Quick Ways)
Remove Protection from a Worksheet
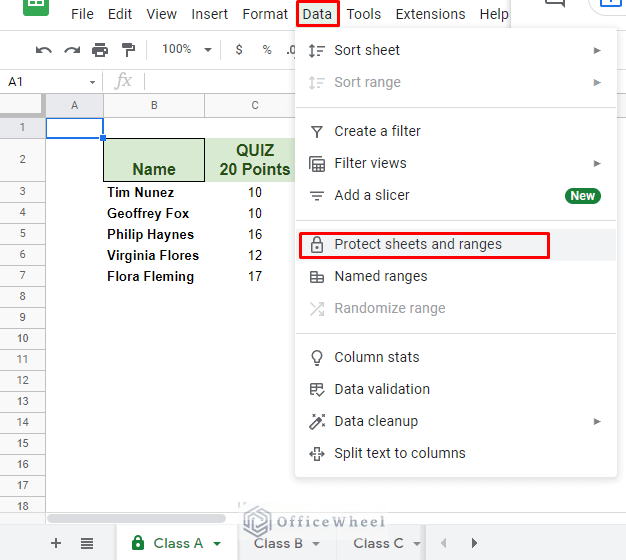
Unlocking protected sheets is also quite easy. Simply navigate to the Protect sheets and ranges option from the Data tab (this also serves as an alternative way to open this window). Data > Protect sheets and ranges
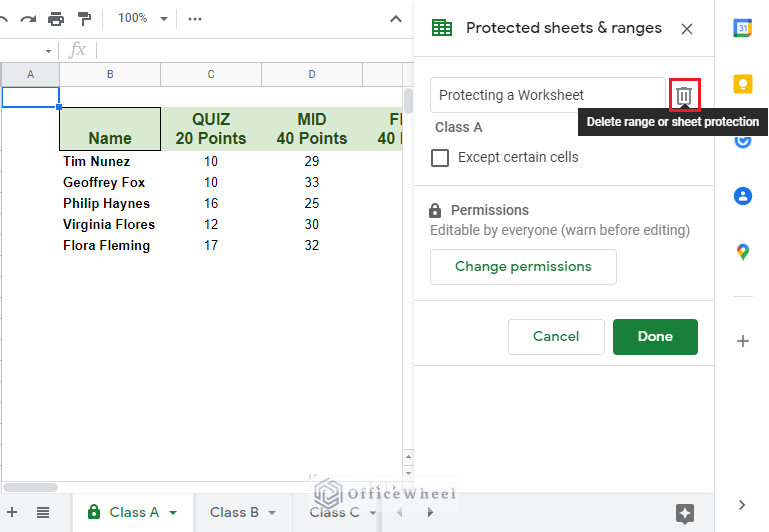
If any protection already exists, it will be shown in this Protected sheets & ranges menu. Click on the protection you want to edit or remove.
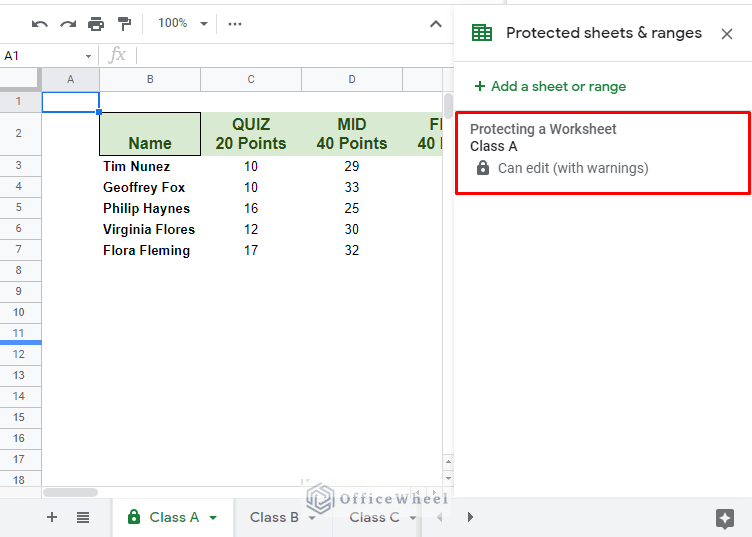
Click on the small trash can icon on the right of the name to remove the protection.
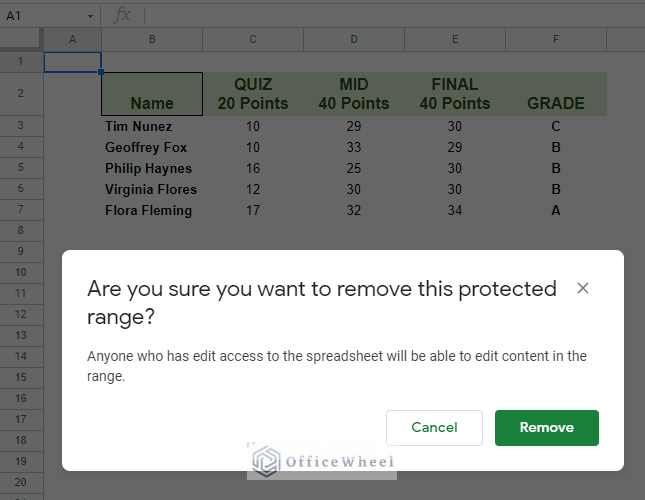
We will be presented with a final prompt to remove the protection from the worksheet. Click Remove.
Read More: Protect Range in Google Sheets (Easy Examples)
Why Protect Your Sheets?
The main idea behind protecting your worksheet is to control the data in them. But more particularly because:
Your spreadsheet may be shared with a large audience who you may allow to edit certain worksheets, but not all.
Certain worksheets may contain sensitive data or formulas that you want unchanged.
Final Words
We hope that the ways we have discussed on how to protect a sheet from view in a Google Spreadsheet come in handy for your tasks and spreadsheet security.
Feel free to leave any queries or advice you might have for us in the comments section.