There are multiple ways to copy and paste an image into Google Sheets. In this article, we will demonstrate 5 simple ways to copy and paste an image into Google Sheets with easy steps and sharp illustrations.
5 Simple Ways to Copy and Paste an Image in Google Sheets
Now we’ll show 5 easy and useful ways to copy and paste an image into Google Sheets.
1. Use Copy/Paste Command to Copy and Paste an Image in Google Sheets
This is the fastest and simplest way to add an image to Google Sheets. We can copy and paste any image from both File Explorer and online media. All we need to do is follow the steps.
1.1 From File Explorer
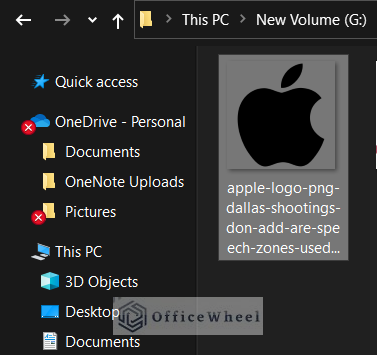
Sometimes we want to add an image to a Google Sheet quickly from our File Explorer. Here’s how to copy and paste an image from File Explorer using the Copy and Paste command:
Steps:
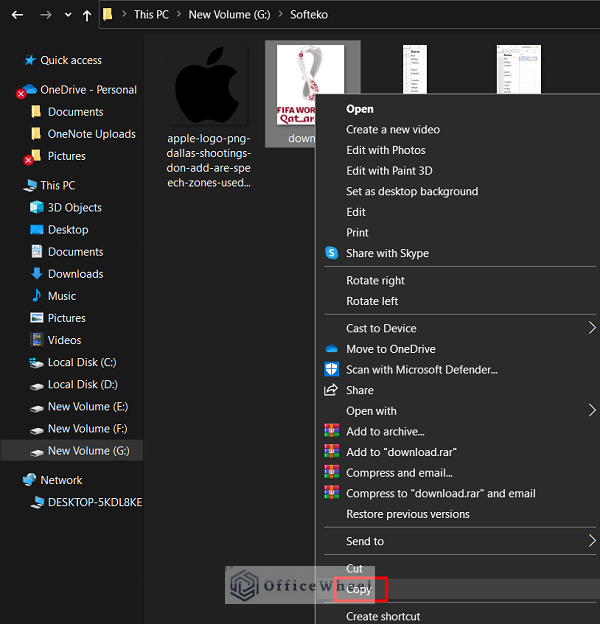
- First, go to the picture, right-click on the selected image and click Copy.
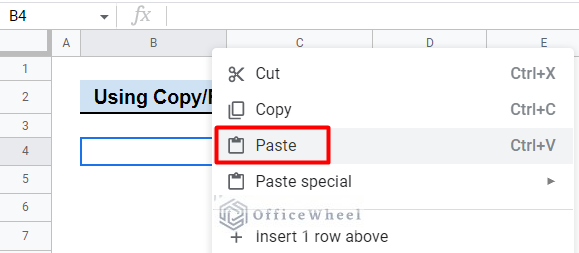
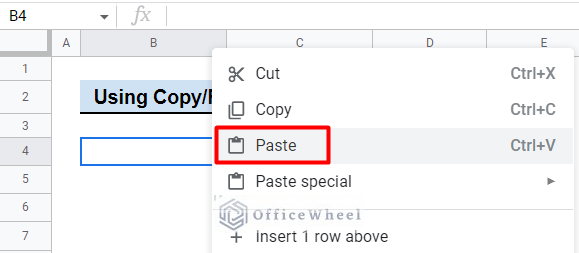
- Now in the Google Sheets, select a cell, right-click and select Paste.
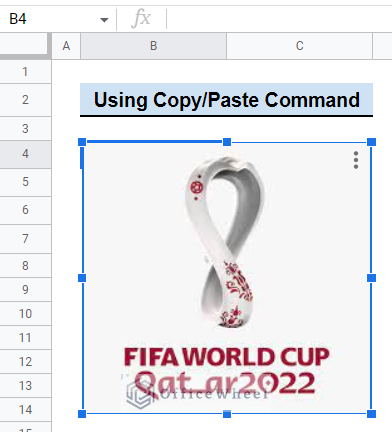
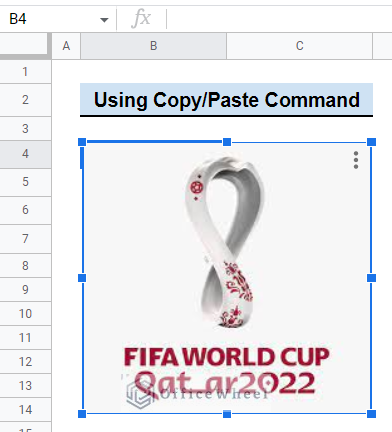
- Once the image has been uploaded, you can then resize it and move it to your preferred location.
1.2 From Online Image
Sometimes we want to rapidly add a picture from an online source to a Google Sheet. Here’s how to use the Copy and Paste command to copy and paste a picture from an online source:
Steps:
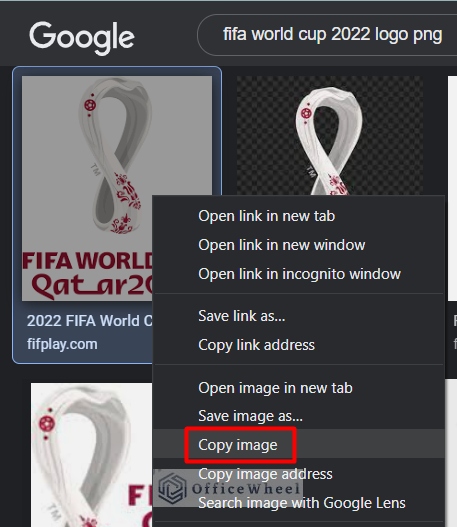
- To begin, go to the image, right-click on the chosen image, and then click Copy image.
- Select a cell in Google Sheets and then click the Paste option from the context menu.
- After the image has been uploaded, you can adjust its size and position as needed.
Read More: How to Copy and Paste in Google Sheets (4 Simple Ways)
2. Use Shortcut Keys to Copy and Paste Image in Google Sheets
This is the quickest approach for adding a picture to a Google Sheet. You can press the keys Ctrl+C to copy an image from the File Explorer on your PC and Ctrl+V to paste it.
Steps:
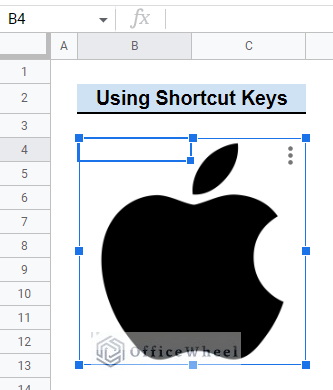
- First, select the image you want to add to Google Sheets and press Ctrl+C.
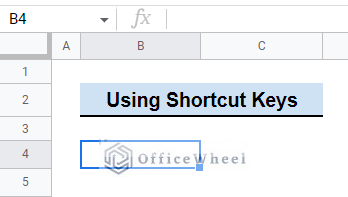
- After that, just go to Google Sheets and select a cell.
- Then just press Ctrl+V.
- The image has been uploaded to your Google Sheets. You can now resize it and can locate it in your desired position.
3. Use the Google Sheets Image in Cell Option to Copy and Paste Image
Google Sheets’ Insert image in a cell option is also one of the simplest ways to copy and paste an image. Although it’s not a direct way to copy, we’ll copy the image by copying its address.
Steps:
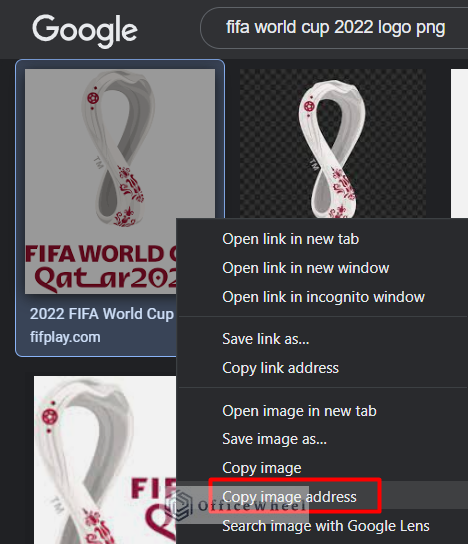
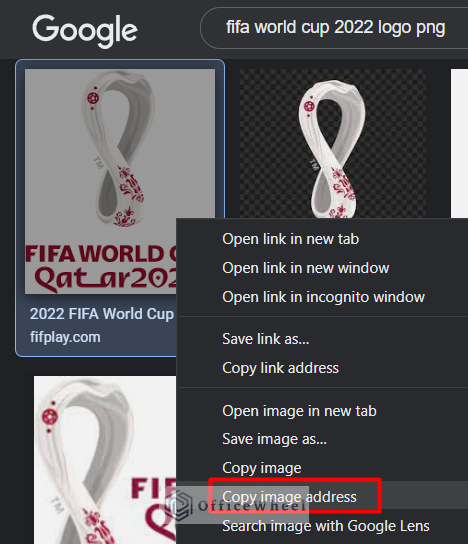
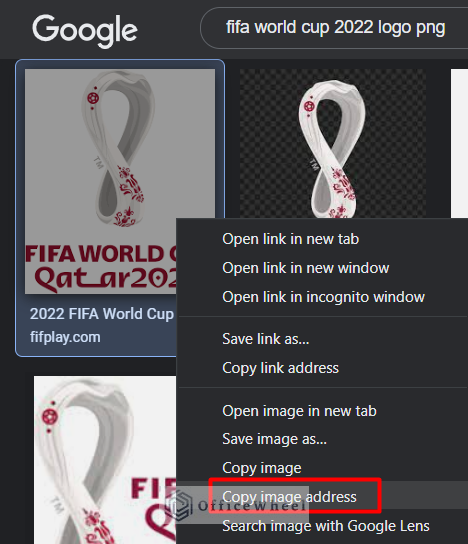
- First right-click the image you wish to insert from an online source, then select Copy Image Address.
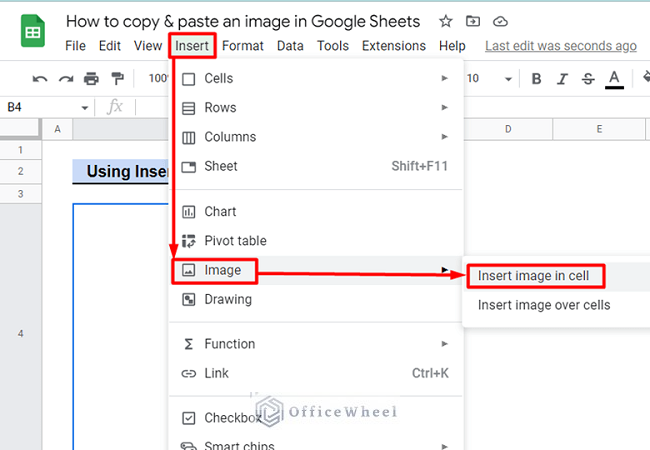
- Next, in Google Sheets, choose the cell where you wish to insert the image. Select Insert from the menu. Place your cursor over the Image selection. Select Insert image in cell from the menu.
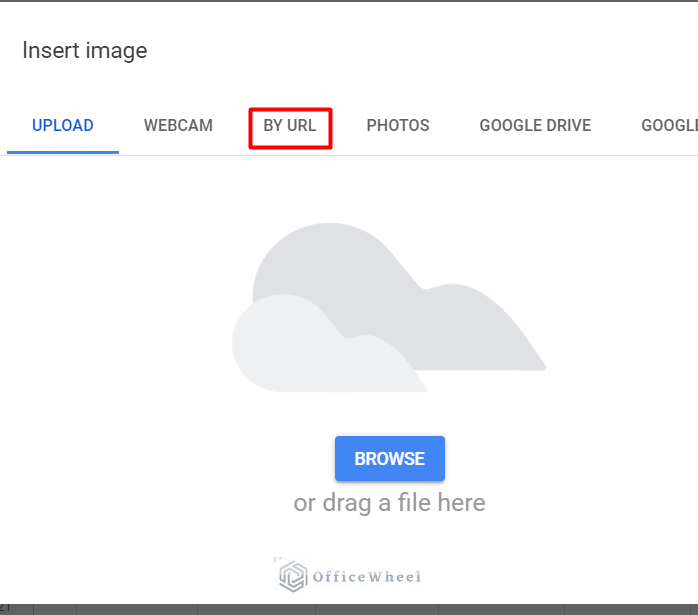
- Click on the BY URL option.
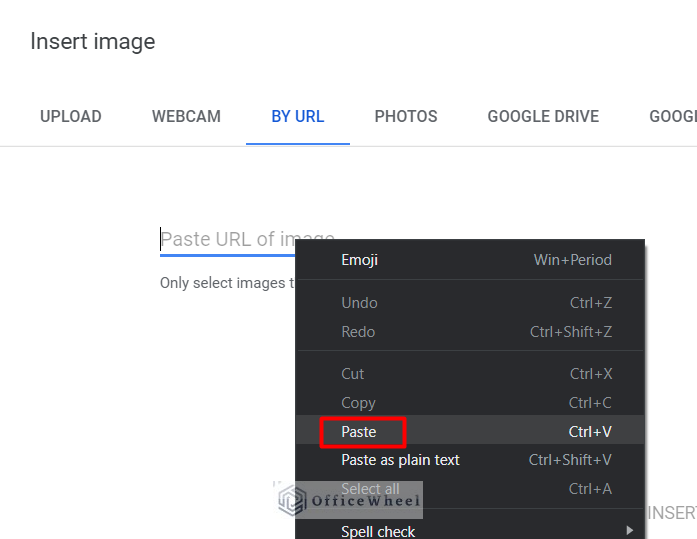
- Now paste the image URL you already copied.
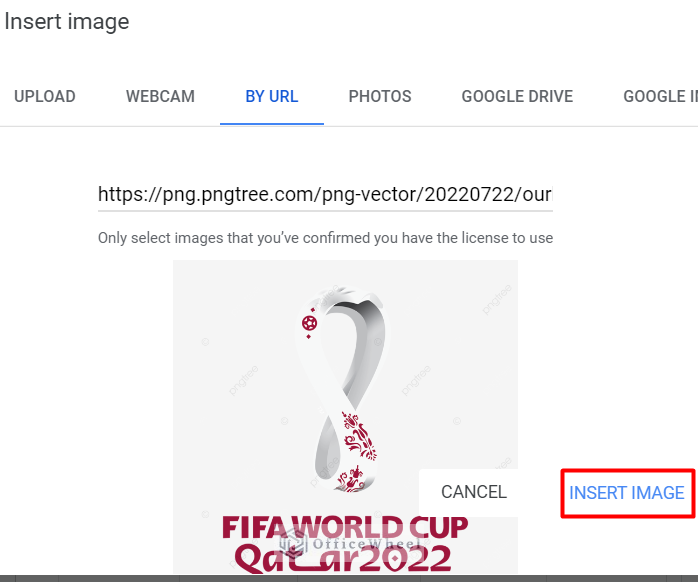
- You can now preview the image you want to insert. Click INSERT IMAGE.
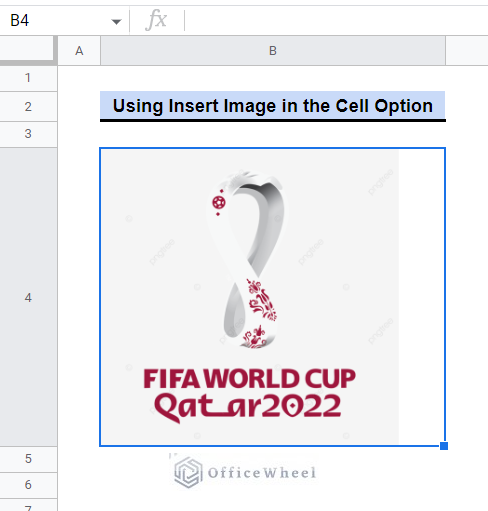
- Now the image has been inserted in your desired cell. You can now resize it.
Note: In this method, the image is positioned inside the cell and that it expands and contracts along with the cell. Additionally, if you filter or hide the cell, the image will stick to the cell and become hidden. Adding an image over the cells is another option. You will see the image above the cells in the form of an object, and you will need to manually resize and move it to fit it inside a cell. Additionally, when you add an image over a cell, it won’t resize or move with the cell.
Read More: How to Copy and Paste Multiple Cells in Google Sheets (4 Ways)
Similar Readings
- How to Copy and Paste Link in Google Sheets (6 Quick Methods)
- Copy and Paste Multiple Rows in Google Sheets (2 Ways)
- How to Copy and Paste Multiple Columns in Google Sheets
- Copy and Paste Conditional Formatting in Google Sheets
4. Insert Image Using Drawing Option
Using the drawing option in Google Sheets, you may also add images. This approach is comparable to the insert image approach. The absence of an ability to include an image in a cell is the only difference.
Steps:
- First right-click the image you want to insert from an online source, then choose Copy Image Address.
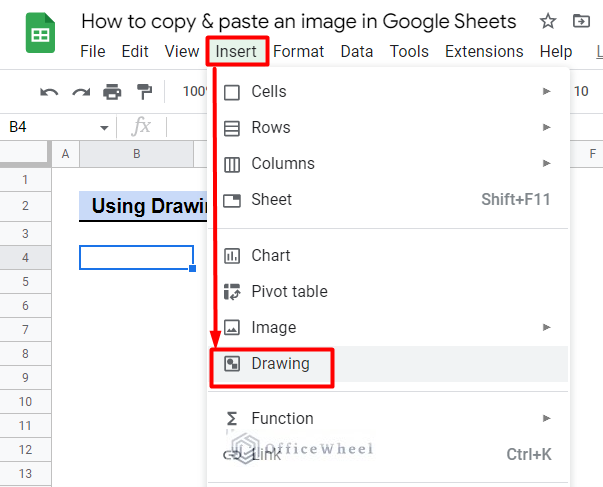
- Select Drawing from the Insert menu.
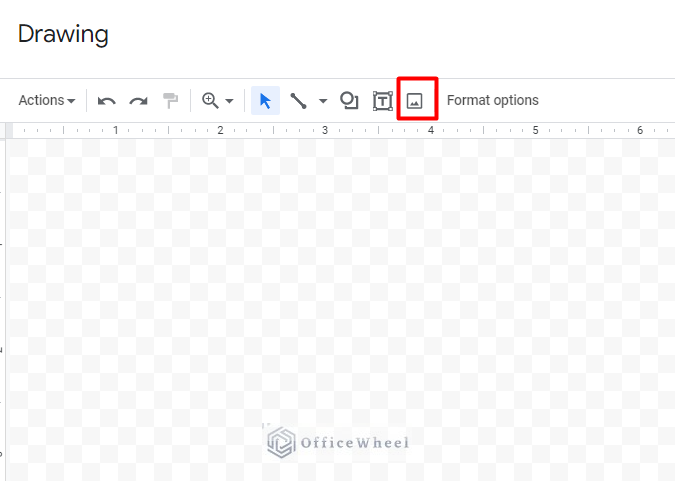
- Once the drawing window has appeared, select the image icon.
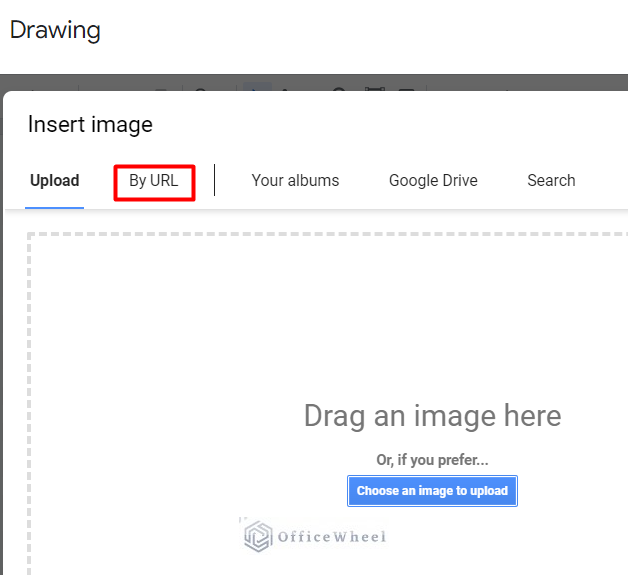
- An insert image window will display after clicking the picture icon. Now click the By URL option.
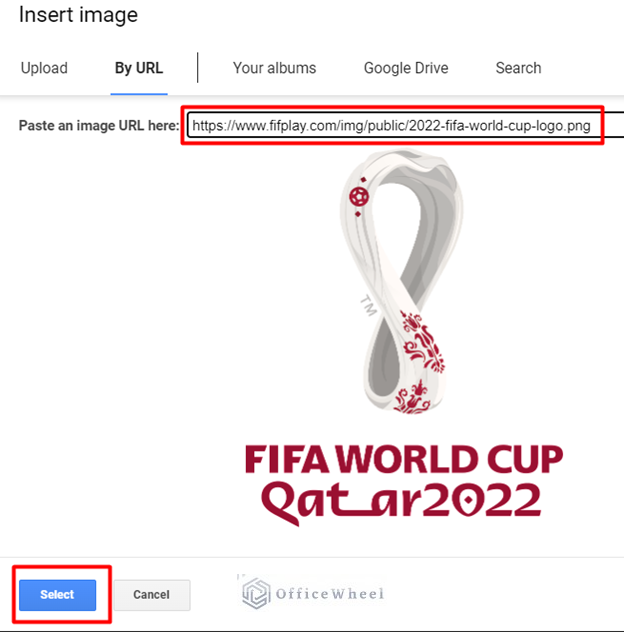
- Enter your image URL by pressing the Ctrl+V button or simply by Paste command. If you are pleased with the image you have uploaded, click Select.
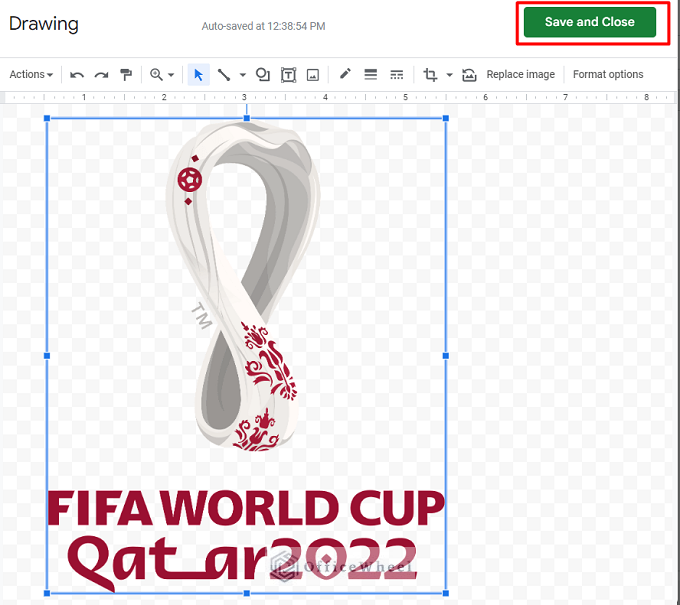
- You can change the image file after uploading it and include text boxes and other shapes. Click Save and Close once you’ve finished making changes to the image.
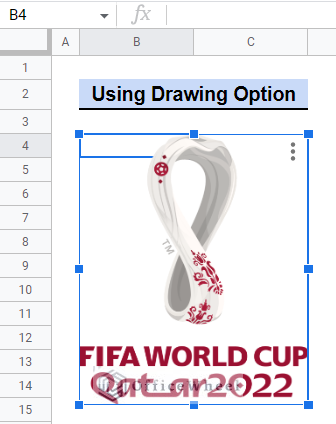
- The image will show up over the cells. The image can be resized and moved around the page.
Note: With this approach, you have a variety of options for editing your image. Its size and shape can be changed, as well as adding a border. To the image, you can add additional shapes like arrows, circles, or lines. You can combine several images into one by adding them. In addition, if you double-click the image, you will be taken back to the drawing tab, where you can make any necessary adjustments.
5. Insert Image Applying IMAGE Function
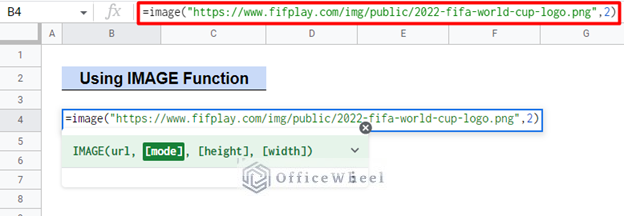
In Google Sheets, there is a formula you can use to insert an image into a cell. Using the IMAGE function, you can quickly start the process of uploading a photo and changing its aspect ratio in your chosen cell. You can copy the picture address, paste it in the IMAGE function, select the mode you would like, and Google Sheets will insert the image after that. The IMAGE function’s syntax is:
IMAGE (URL, [mode], [height], [width]) Here’s how to insert an image in a Google Sheet using the IMAGE function:
Steps:
- First right-click on the image you want to insert and click Copy image address.
- Now select a cell in Google Sheets, where you want to insert the image.
- Now type =IMAGE( in Cell B4 and then paste the image address you already copied by pressing the Ctrl+V button. Then close the apostrophe, and type the mode number you want. In our case, we type 2 and then close the bracket. So the final formula will be-
- Press the Enter button and your image will be inserted into your desired cell.
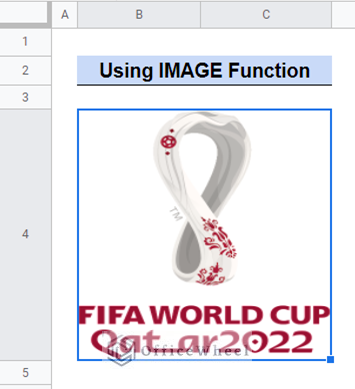
- Now you can resize the cell so that it will appear bigger and clearer.
Read More: How to Copy and Paste Formulas in Google Sheets (4 Easy Ways)
How to Fix Too Small Image in Cell after Copying in Google Sheets
In each of these methods, we can add image either inside a cell or over the cell. When you insert an image in a cell, all you need to do is resize the cell, and your image will automatically resize with the cell. But when you insert an image over the cell, it is also easy to resize it.
Steps:
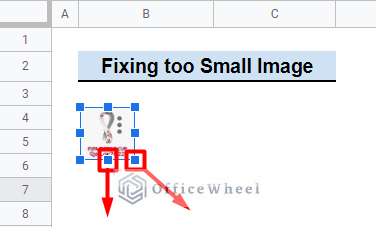
- First, click the image to highlight it.
- On one of the squares near the corner or edge of the image, press and hold the left mouse button.
- Drag the mouse toward the image to reduce its size or away from the image to increase it while continuing to press the mouse button.
Conclusion
That concludes the various approaches to copy and paste images in Google Sheets. We hope that this article will make it easier for you to copy and paste an image in Google Sheets. Please feel free to leave any questions or suggestions in the comments section below. Visit our site to explore more.

