This is a simple guide to show you a few ways you can use to autofill a date when a cell is updated in Google Sheets. While there are functions and shortcuts to get the job done, they come with certain limitations. These limitations can be overcome with a simple script, however.
All of this and more, in this article.
3 Ways to Autofill Date when a Cell is Updated in Google Sheets
1. Autofill Current Date and Time with Running Functions in Google Sheets
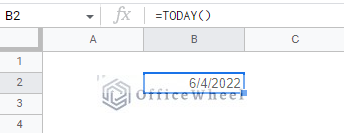
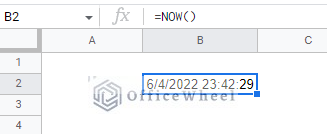
We start with something simple, two functions created for the sole purpose of generating the current date in Google Sheets.
They are the TODAY function which generates the current date.
=TODAY()And the NOW function which generates the current date and time.
=NOW()As you can see, neither of the functions requires any arguments. Just type them in and a value will be generated.
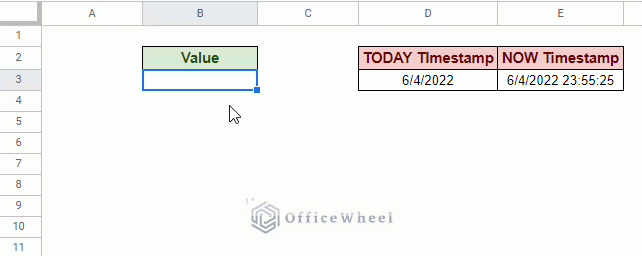
Another similarity that they have is that they are both “running” functions. This means that every time the spreadsheet is updated, the functions will also update their values. This makes the functions dynamic and almost perfect for our subject topic today.
In the image above, we can see that every time data is added to the worksheet, the time in the NOW Timestamp updates. If we had updated the worksheet on a different day, the date would also have been updated to show the current date then.
However, this dynamicity comes at the cost of processing power. Meaning that the more of these functions you have in the spreadsheet the slower the spreadsheet will load, even leading to crashes.
On the other hand, this “running” date-time feature can be considered a double-edged sword.
Let’s say you want to only note certain changes, The TODAY and NOW functions don’t allow that. They change values every single time any changes are made to the worksheet.
For non-changing update timestamps or records in Google Sheets, see the next two methods.
2. Create a Timestamp with Keyboard Shortcuts in Google Sheets (Date does not Change Later)
A more manual approach to creating a timestamp in Google Sheets uses keyboard shortcuts.
Any self-respecting spreadsheet user will know how crucial these keyboard shortcuts can be when it comes to handling a lot of data.
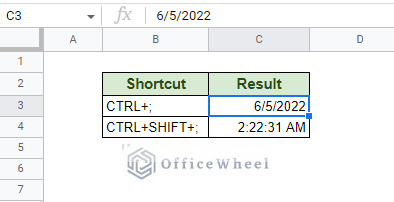
The keyboard shortcut to generate the current date is:
The keyboard shortcut to generate the current time is:
Note: For macOS, use the CMD or pretzel key instead of CTRL.
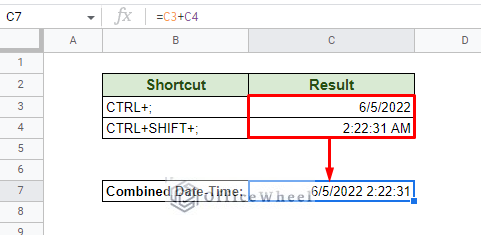
To generate a result similar to the NOW function (date and time), simply add the two cells together.
A big advantage that this method has over something like TODAY and NOW is that these results are static. This means that they do not change automatically when any minor update happens within the spreadsheet. The updated timestamp remains unchanged later.
But this can also be considered a disadvantage as the user has to manually generate the current date or timestamp every time the desired cell is updated. Though keyboard shortcuts are significantly faster and more accurate than typing.
3. Using Google Apps Script to Autofill Date when a Cell is Updated (Date does not Change Later)
What we require is an approach that takes the autofill capabilities of Google Sheets functions and unchangeability of timestamps and combines them. The solution is to simply use a Script.
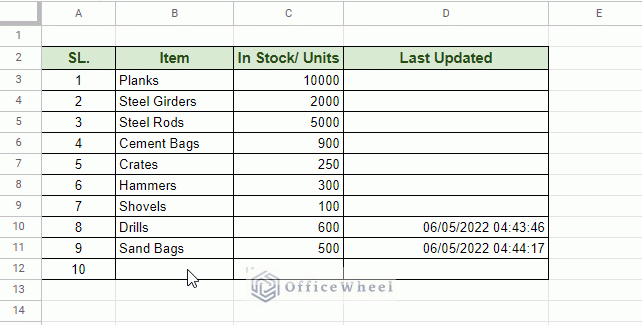
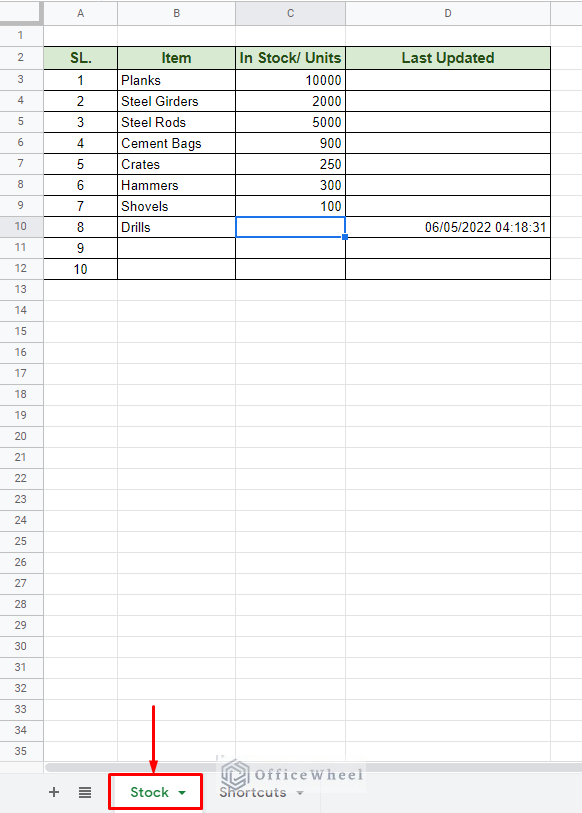
Here’s an example of what we are planning to do:
Looks interesting right?
Let’s see the process step by step.
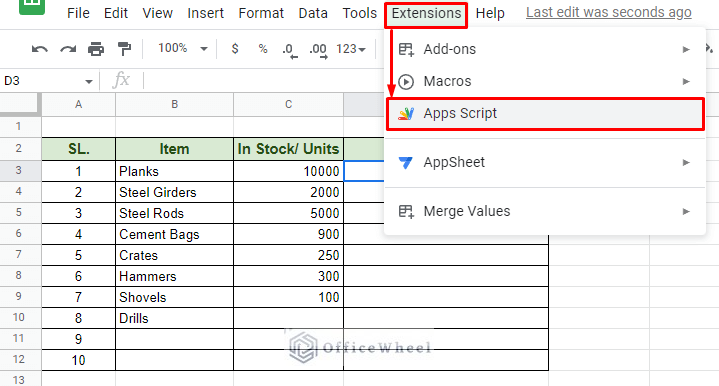
Step 1: Navigate to the Apps Script option from the Extensions tab.
Extensions > Apps Script
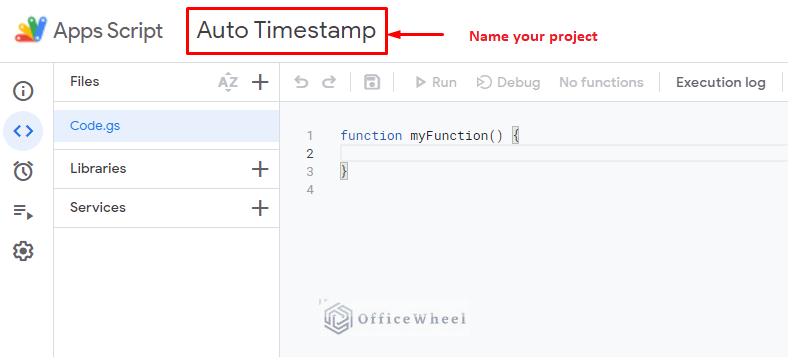
This will open a new tab in your browser for Apps Script. Name your project.
Step 2: Apply the following script:
function onEdit(e) {

  var range = e.range;
  var spreadSheet = e.source;
  var sheetName = spreadSheet.getActiveSheet().getName();
  var row = range.getRow();

  if(sheetName == 'Stock')
  {
    var new_date = new Date();
    spreadSheet.getActiveSheet().getRange(row,4).setValue(new_date).setNumberFormat("MM/dd/yyyy hh:mm:ss");
  }

}
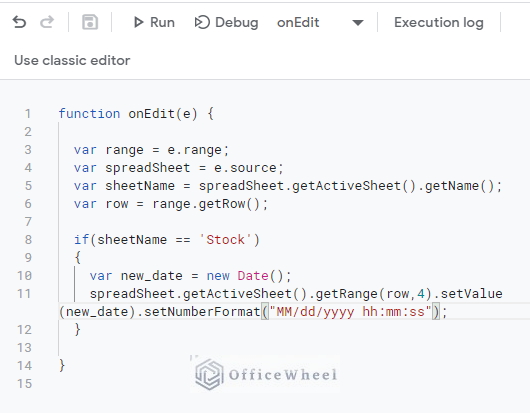
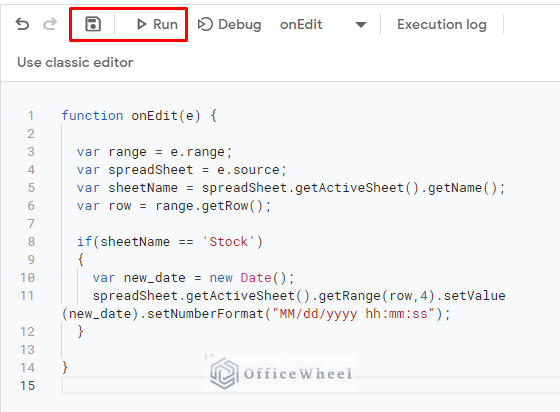
The script code in Apps Script
Code Breakdown
onEdit is a function that triggers every time we make a change in the spreadsheet. “e” is the object that carries the return information.
var range = e.range;
var spreadSheet = e.source;
var sheetName = spreadSheet.getActiveSheet().getName();
var row = range.getRow();
These are the data variables that will be used in the script.
if(sheetName == 'Stock')
{
  var new_date = new Date();
  spreadSheet.getActiveSheet().getRange(row,4).setValue(new_date).setNumberFormat("MM/dd/yyyy hh:mm:ss");
}
This is the IF condition that generates the timestamp.
We are looking for the sheet name called Stock. The name must match the case of the worksheet where it will be applied.
A new Date() is fired every time a row is activated in the “MM/dd/yyyy hh:mm:ss” format.
The column number (the 4 in getRange(row,4)) is quite important. It determines where the date will generate. Since it is column D for us, we have applied 4.
Step 3: Click on the Save icon and update the worksheet to see the results.
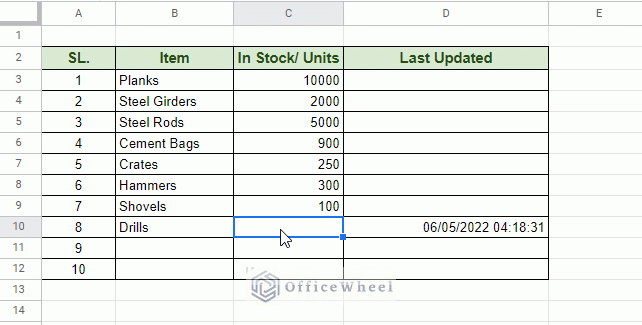
The script in action:
Final Words
With that, we conclude all ways we can use to autofill dates when a cell is updated in Google Sheets. The script approach auto-generates the date with every update as well as keeps the timestamp unless a change is made in the row. This is perhaps the best approach you can take to autofill dates dynamically. The other two options may be easier to implement but come with limitations.
Feel free to leave any queries or advice you might have for us in the comments section below.

Hi,
How can I run the script on multiple columns? Let’s take the sheet above for example, what if you wanted to run a dates script for SL., another dates script for Items, and so on?
Hello,
If you want to specify which column’s changes will trigger the timestamp, all you have to do is include an IF ELSE statement inside the existing one. For example, let’s say that the SL column is Column A in the sheet:
if(sheetName == 'Stock'){
    if(range.getColumn() !== 1) return
    else{
      var new_date = new Date();
   spreadSheet.getActiveSheet().getRange(row,4).setValue(new_date).setNumberFormat("MM/dd/yyyy hh:mm:ss");
    }
}
So, if changes are made to any column other than column A or 1, no timestamps will be triggered.
For multiple triggers, we recommend different scripts for each.
I hope it helps!
how do we limit the field range that actually gets the timestamp. put a timestamp only in G4 if B2-B7 are edited.
Dear, Thanks for visiting our blog and posting an interesting comment. If the range B2:B7 is edited, you want to put the timestamp only in cell G4. We have modified the existing AppsScript code to fulfil your requirements.

SOLUTION Overview:
Apps Script Code:
function onEdit(event) {
  var sheet = event.source.getActiveSheet();
  var editedCell = event.range;
  if (sheet.getName() == "Sheet1" && editedCell.getColumn() == 2 && editedCell.getRow() >= 2 && editedCell.getRow() <= 7) {
    var new_date = new Date();
    sheet.getRange("G4").setValue(new_date).setNumberFormat("MM/dd/yyyy hh:mm:ss");
  }
}
Solution Google Sheets
Hopefully, you have found the code helpful. Good luck.
Regards
OfficeWheel