In this simple guide, we will show you how to autofill numbers in Google Sheets by taking advantage of the application’s automated understanding of numerical patterns.
Let’s get started.
How to Autofill Numbers in Google Sheets
Autofill Basics with Fill Handle in Google Sheets
What is a Fill Handle?
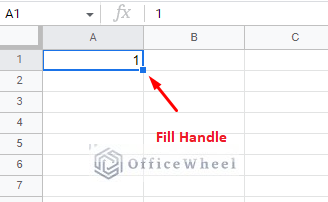
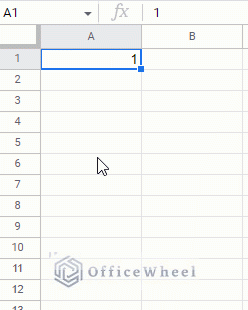
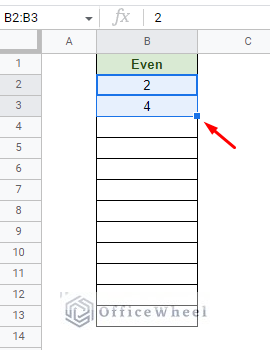
Any selected cell or cells in Google Sheets will have a small blue square in the bottom-right corner (see image below). This is the fill handle of the selection.
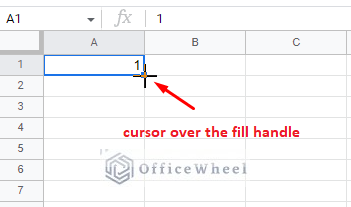
Moving your mouse cursor over this square will transform the cursor to a plus symbol (+).
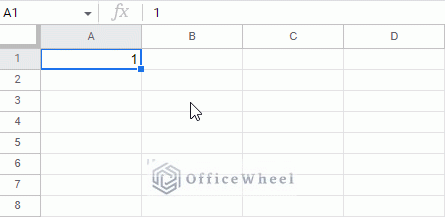
At this point, you can click and drag the fill handle to autofill adjacent cells of Google Sheets with the selected value. You can do so both vertically and horizontally.
This fill handle is the basis of our topic today.
How to Autofill without Dragging in Google Sheets
There is a quicker way than to just click-and-drag to autofill with the fill handle. That is by double-clicking on the fill handle to autofill data in Google Sheets.
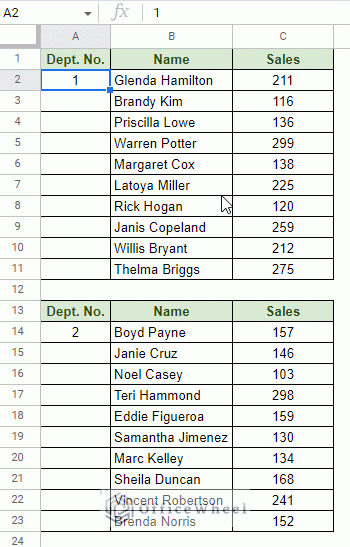
Simply place your cursor over the fill handle and double-click:
Points to note before using this method:
- The active cell must have adjacent cells with value to work. As you can see in the image above, the double-click autofill stops just before it reaches a row with no adjacent value. Since this method is completely automatic, Google Sheets looks for adjacent cell values in the background to automatically set a limit. This method does not work if there are no adjacent cells
- You can only autofill down a column (vertical). This method is limited to auto-filling cells in a single direction. If you want to autofill horizontally, you will have to use the click-and-drag method.
Autofill Keyboard Shortcut
Google Sheets provides its users with a plethora of keyboard shortcuts. One of which is the Selection Autofill Shortcut: CTRL+ENTER.
How to use:
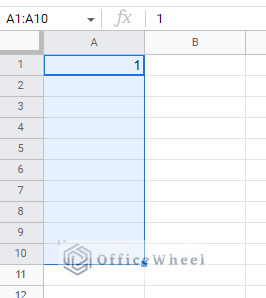
1. Select the primary value and the range of cells adjacent to it where you want to autofill.
2. Use the keyboard shortcut, CTRL+ENTER, to autofill the selected cells in Google Sheets with the primary value.
Note: This shortcut can autofill only one value, the value that is in the active cell.
How to Autofill a Series of Numbers in Google Sheets
1. Simple Serialization
So far, we’ve seen how autofill works in Google Sheets. But the auto-filled values were the same for all cells.
What if we wanted to autofill a sequence of numbers?
Autofill a series of numbers that follow a specific pattern?
Yes, it is possible in Google Sheets. Here’s how:
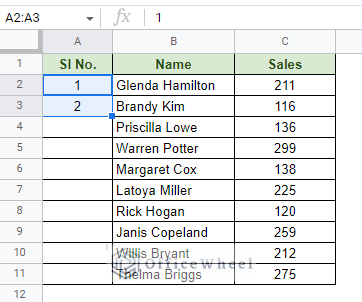
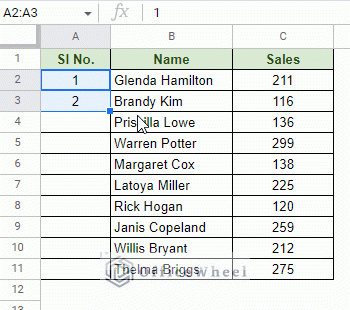
Step 1: Input the first two numbers of the series and select them.
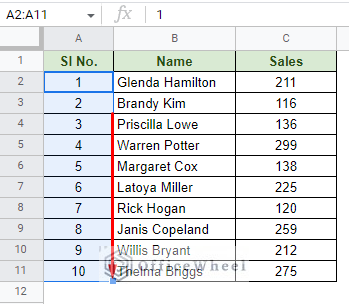
Step 2: Click and drag the fill handle down the column.
And we are done!
It is that simple to autofill a series of numbers in a Google Sheets spreadsheet.
We can also do this with the double-click method:
2. Even and Odd Number Serialization
The same method works for all types of number series. For example, let’s say we want to autofill a sequence of even numbers in Google Sheets.
Step 1: Input the first two numbers of the sequence. Select these two numbers.
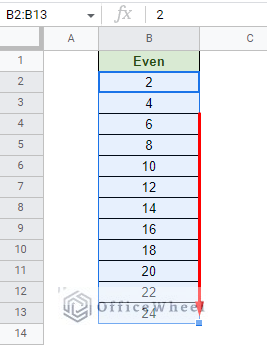
Step 2: Use the fill handle to autofill the sequence.
What happens here is that Google Sheets recognizes the difference between the two selected numbers to generate the same difference as the fill-handle is used.
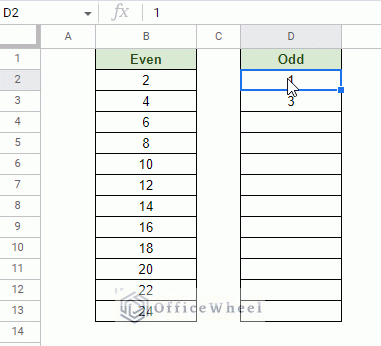
The same can be applied to an odd number sequence.
Example: Autofill Months in Google Sheets
Dates are just another form of numerical values in Google Sheets. As such, we can also autofill date values in Google Sheets.
While day and year values are numbers by default, the month values can also be written as text.
Fortunately, Google Sheets correctly recognizes the values of months, even if it is written as text.
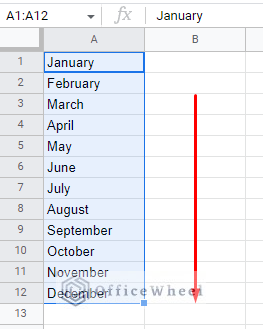
So, we can once again use the fill handle to autofill month values in Google Sheets.
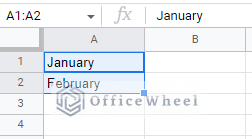
Step 1: Input and select the first two months of the sequence.
Step 2: Click and drag the fill handle to autofill the months in Google Sheets.
Learn More: How to Autofill Date in Google Sheets (A Comprehensive Guide)
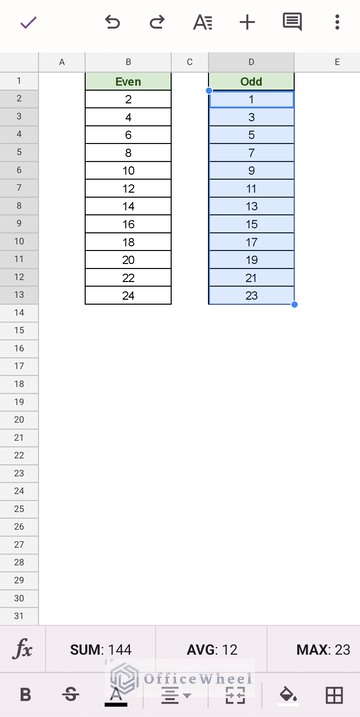
How to Autofill Numbers from Google Sheets Mobile App (Android/iOS)
The Google Sheets mobile application is nearly as versatile as the browser version. This allows users to perform almost the same type of tasks in both versions, including autofill.
Here are the steps that you can use to autofill a series of numbers in the Google Sheets mobile app:
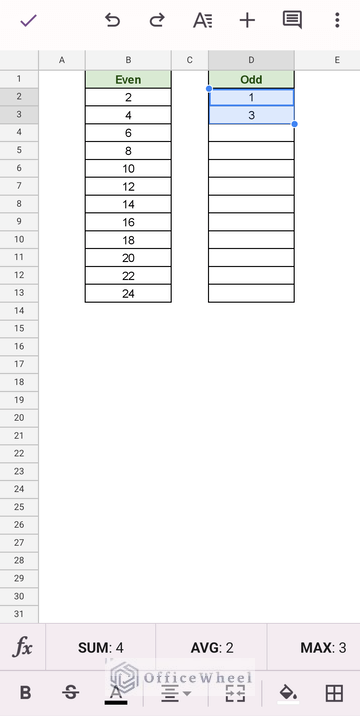
Step 1: Select the first two numbers of the sequence from the mobile app. Tip: Select the first number then tap and drag to the second number.
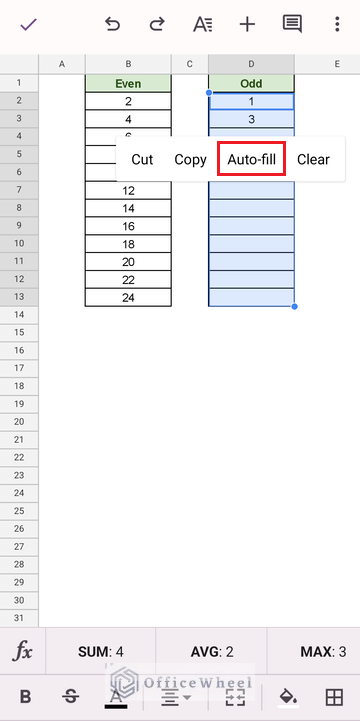
Step 2: Tap, hold and drag the fill handle to select the range. Tap on the selection to bring out the cell action menu. Here, you’ll find the Auto-fill option.
Step 3: Tap on Auto-fill to autofill the sequence of numbers over the selection in the Google Sheets mobile app.
Final Words
That concludes our simple guide on how to autofill numbers in a Google Sheets spreadsheet.
To summarize, you can use the versatility of the fill handle to not only autofill a specific numerical value, but also a sequence of them
Feel free to leave any queries or advice you might have in the comments section below.

