In business life as well as in day to day life we use Google Sheets extensively. When using Google Sheets we may sometimes need to change columns to rows and vice versa. In this article we will go over how to change columns to rows in Google Sheets. We will use a simple method called Transposing. Transposing allows us to rotate the arrangement of columns to rows and vice versa easily and effectively.
A Sample of Practice Spreadsheet
What Does It Mean to Transpose in a Spreadsheet?
In the transpose method, columns are switched to rows and rows to columns. This method comes in handy when we want to manually change columns to rows and saves us time and energy.
Let’s say we have a column indicated by Names and we want to change it from columns to rows in Google sheets.

3 Methods to Change Columns to Rows in Google Sheets
1. Change Columns to Rows Using Paste Special Method
The easiest method to change columns to rows is Paste Special. Paste Special allows us to change columns to rows in just a matter of seconds.
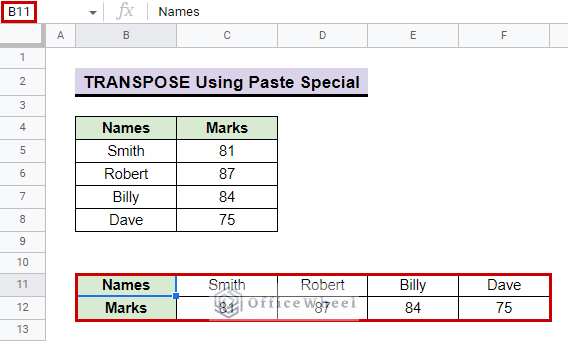
- First, we need to have a dataset and for that, we have a dataset with column headings named Names and Marks. We want to change these column headings to row headings using Paste Special method.
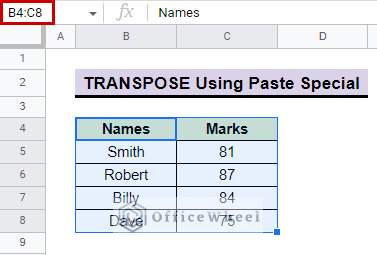
- Next, select the table whose columns you want to change to rows. In our example, we select the B4:C8 table.
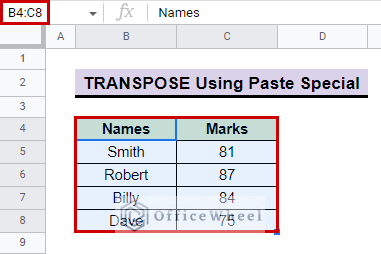
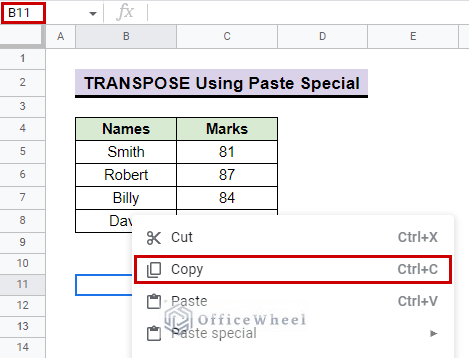
- Then, Right Click on the mouse with the cursor pointing over the selected cells at the table and copy the table or use keyboard shortcut CTRL+C to copy. We copied the B4:C8 table in this case.
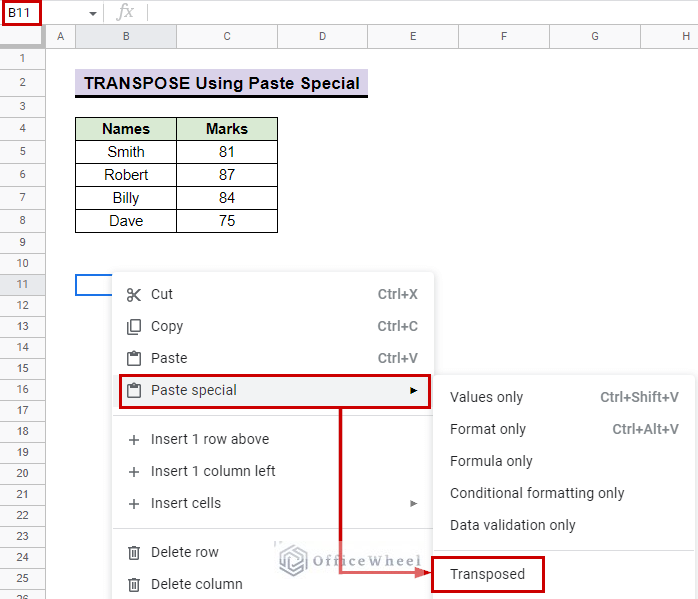
- Now, go to the cell where you want the transpose to happen and Right Click on the mouse and go to Paste Special> Transposed. Since we want the data to appear in cell B11, we select B11 and go to Paste Special> Transposed.
- Finally, your table is altered and columns have become rows starting in cell B11.
Read More: How to Transpose Columns to Rows in Google Sheets (3 Methods)
2. Applying the TRANSPOSE Function to Change Columns to Rows
TRANSPOSE is a powerful function in Google Sheets to change columns to rows easily. This function helps us save time and achieve our goal of changing columns to rows in an easy and simple way.
=TRANSPOSE(array_or_range)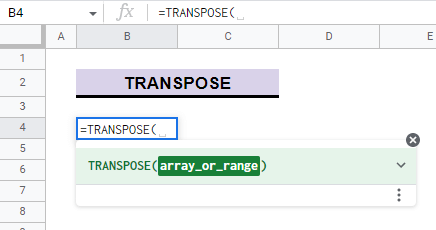
array_or_range: It indicates the array or range whose rows and columns will be swapped.
These are the steps you need to follow to change columns to rows using the TRANSPOSE function in Google Sheets:
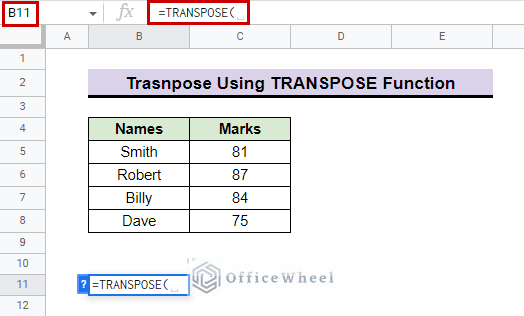
- First, consider the dataset we used to change columns to rows in the previous method:

- Now, go to the cell where you want the data to appear and type in =TRANSPOSE followed by an Opening Parentheses. In our example, we go to cell B11 and type in =TRANSPOSE(.
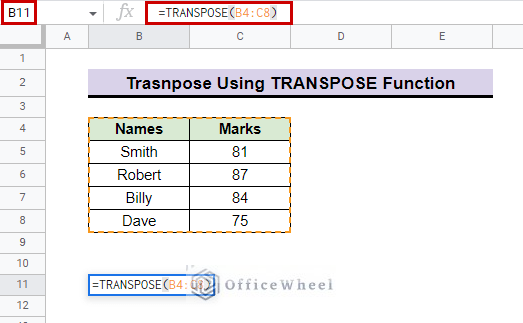
- Then, type in the table range whose columns you want to change to rows. In our example, we type in B4:C8 and close the Parentheses.
- Now, press ENTER. Your table is now changed and columns have become rows. This is how our example data table looks after applying the TRANSPOSE function:
=TRANSPOSE(B4:C8)
Read More: Transpose Multiple Rows into One Column in Google Sheets
3. Convert Columns to Rows from Another Sheet
Assume that you have data in a sheet and want to change the columns of that dataset to rows in a different sheet. It is not hard and rather quite easy to accomplish. Follow the steps below and you will be able to use the TRANSPOSE function from another sheet in no time.
- First, Go to the Sheet where you want the data table to appear. In our example, we go to Sheet1 of our workbook as our data is stored in Sheet2 of our workbook and we want the change to take place in Sheet1.
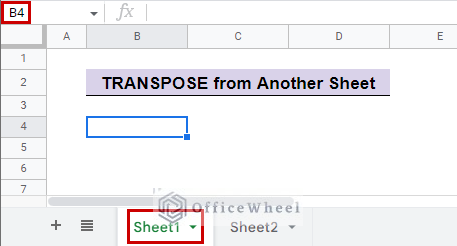
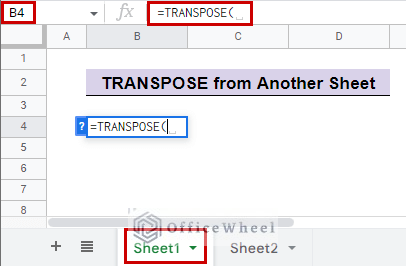
- Now, select the cell where you want the data to be and type in =TRANSPOSE followed by an opening parenthesis. We want the data to appear in cell B4, so we select B4 and type in =TRANSPOSE(.
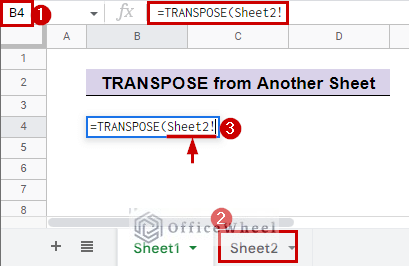
- Then, enter the sheet name and type in an Exclamation Mark at the end. In our example, we type in Sheet2! as the data is in Sheet2 of our workbook.
- Next, type in the Table Range whose columns you want to change to rows and Close Parentheses. In our example, we type in B4:C8 as the data is in this range and close parentheses.

- Now press ENTER and your data table have copied from another sheet and the columns have changed to rows. In our example, the data table looks like this after we press ENTER:
=TRANSPOSE(Sheet2!B4:C8)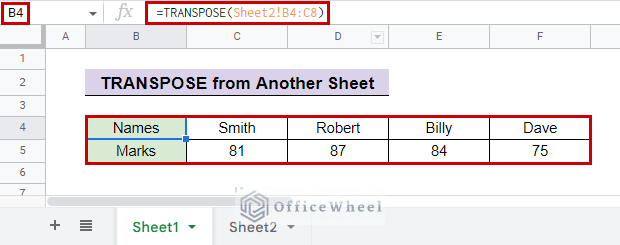
Conclusion
In this article, we showed you how to change columns to rows in Google Sheets. We hope this article was useful to you to understand Transposing better. Check out other articles on our site to keep on improving your Google Sheets work knowledge.
Feel free to visit OfficeWheel for more Google Sheets-related content.