A most interesting feature of Google sheets is that we can send email based on date. Sometimes we need to send emails to a certain number of people based on given dates. In this article, we’ll see 2 easy methods to send email based on a date in Google Sheets with clear images and steps.
A Sample of Practice Spreadsheet
You can download Google Sheets from here and practice very quickly.
2 Easy Methods to Send Email Based on Date in Google Sheets
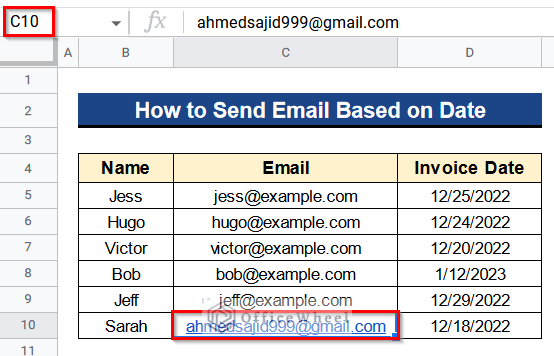
We’ll give an introduction to our dataset first. Here we have some names in Column B, their email address in Column C, and invoice dates in Column D. Now we want to send emails based on these dates if the date is expired. So I’ll show 2 easy methods to send email based on a date in Google Sheets. I have entered my own email address in Cell C10 to see whether my method is working or not. Let’s see the methods.
1. Using Apps Script
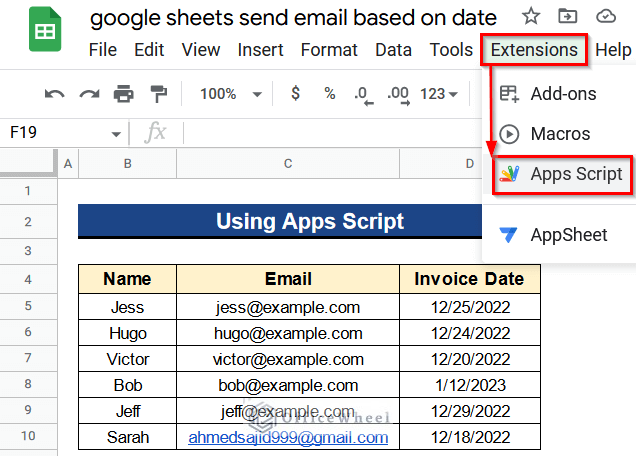
We can send email based on a date in Google Sheets quickly by using the Apps Script Extension. We have to enter a code and the output is automatic. Just follow the process given below to apply this method.
1.1. Sending Email Manually
We can send emails manually by using the Apps Script Extension. Firstly, the Apps Script Code will search for the invoice date from Column D and compare it with today’s date. Then the code marks those dates as expired which are before today’s date and sends them an email. Let’s see how to do it.
Steps:
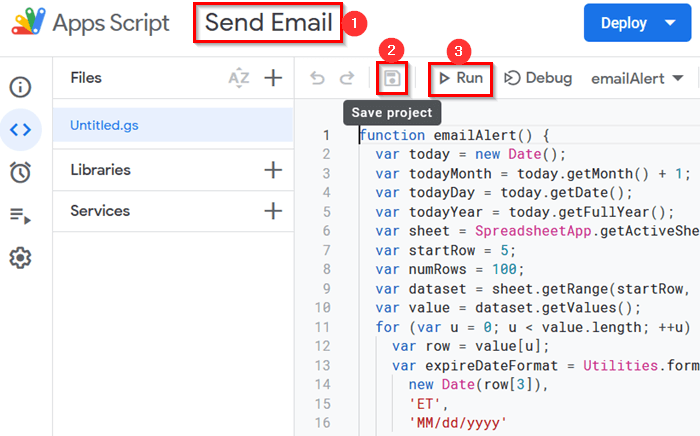
- Secondly, rename the file name as “Send email”.
- Thirdly, enter the following code in the code box-
function emailAlert() {
  var today = new Date();
  var todayMonth = today.getMonth() + 1;
  var todayDay = today.getDate();
  var todayYear = today.getFullYear();
  var sheet = SpreadsheetApp.getActiveSheet();
  var startRow = 5;
  var numRows = 100;
  var dataset = sheet.getRange(startRow, 1, numRows, 999);
  var value = dataset.getValues();
  for (var u = 0; u < value.length; ++u) {
    var row = value[u];
    var expireDateFormat = Utilities.formatDate(
      new Date(row[3]),
      'ET',
      'MM/dd/yyyy'
    );
    var subject = '';
    var message =
      ' Your Invoice Date is Expired ' +
      '\n' +
      ' Name: ' +
      row[1] +
      '\n' +
      ' Email Address: ' +
      row[2] +
      '\n' +
      ' Invoice Date: ' +
      expireDateFormat;
    var expireDateMonth = new Date(row[3]).getMonth() + 1;
    var expireDateDay = new Date(row[3]).getDate();
    var expireDateYear = new Date(row[3]).getFullYear();
    if (
      expireDateMonth === todayMonth &&
      expireDateDay === todayDay &&
      expireDateYear === todayYear
    ) {
      var subject =
        'Notice for Expired Invoice Date: ' + row[4] + ' - ' + expireDateFormat;
      MailApp.sendEmail('[email protected]', subject, message);
      //Replace [email protected] with your own email
      Logger.log('todayyyy!');
    }
  }
}
- Then, click on the Save Project button and press the Run button as you can see in the picture.
- Next, you have to give permission if you are using the Apps Script Extension for the first time.
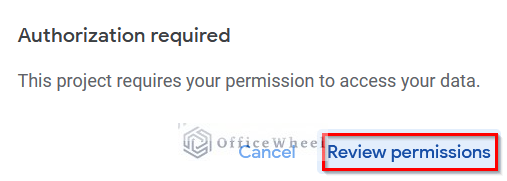
- So, select the Review Permissions button.
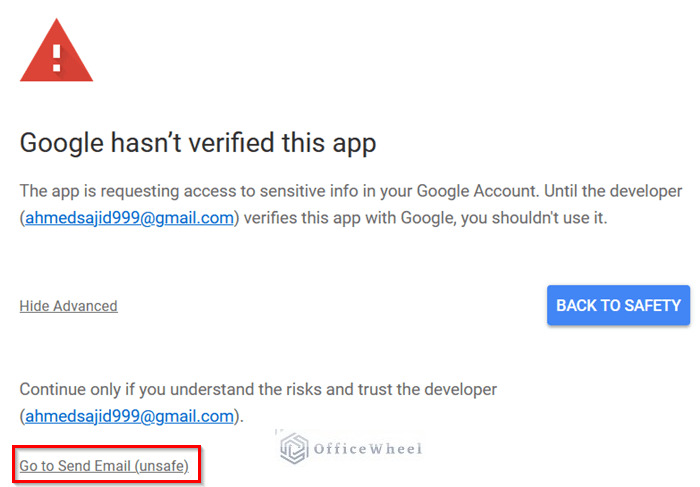
- After that, you’ll get a warning like below.
- Don’t worry. Just click the Go to Send Email (Unsafe) button.
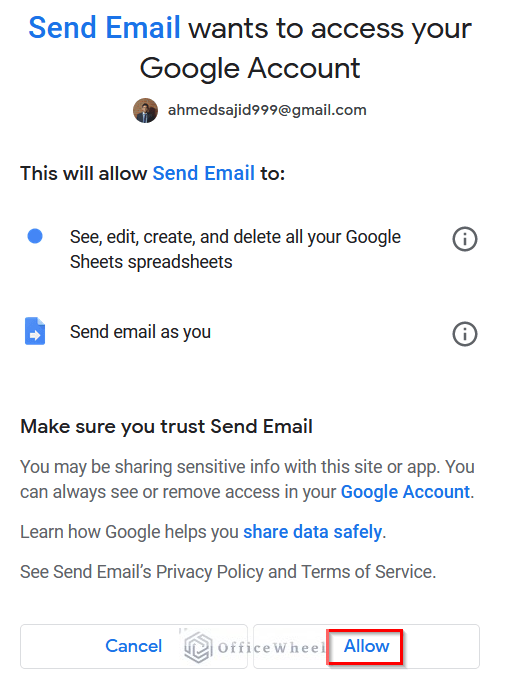
- Thereafter it will ask for access to your Google Account.
- Give access by pressing the Allow button.
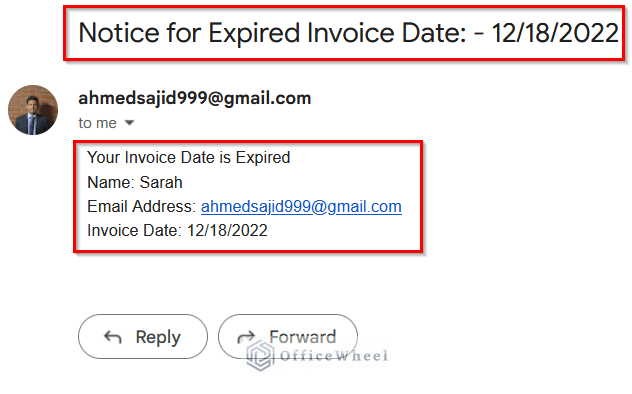
- Finally, your code will run and send an email like below. It’ll send mail to those people whose invoice date is expired.
- In the end, open your Gmail to see the mail.
Read More: How to Enable Email Notification in Google Sheets (Step-by-Step)
1.2. Sending Email Automatically
It is tiresome to send emails manually. Because you have to open your Google Sheets every time you want to send an email. So now we’ll make the process automatic. If we follow this process, then Google Sheets will automatically send emails to those people whose invoice date is expired.
Steps:
- First of all, follow the processes from the 1st, 2nd, 3rd and 4th steps of Method 1.1.
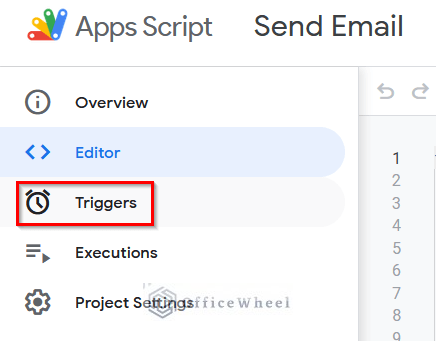
- Then, go to Triggers in the Apps Script Extension.
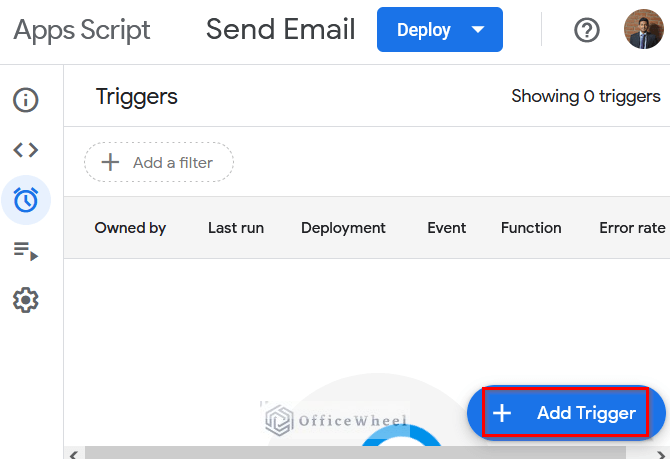
- Afterward, click on the Add Trigger button at the bottom right corner of the sheet.
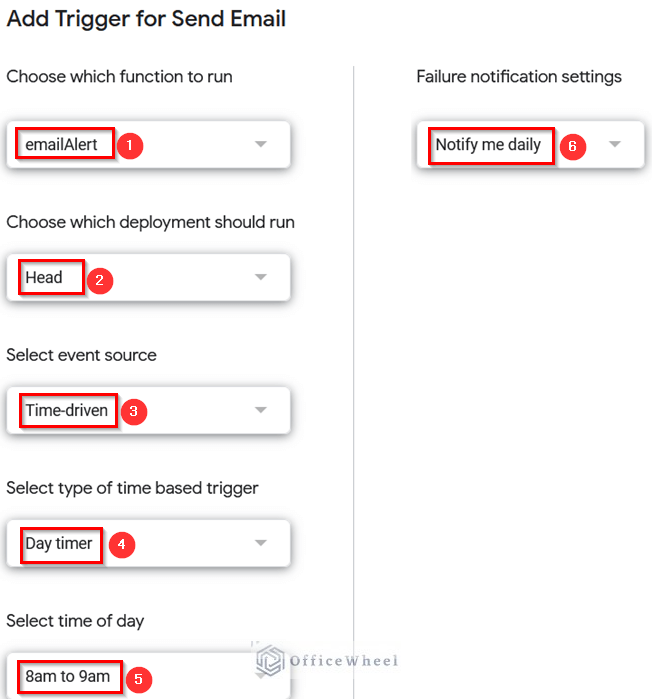
- Now, you have to give multiple choices on how you want to get the email.
- In the first place, choose emailAlert under Choose which function to run menu.
- Then, select Head under Choose which deployment should run menu.
- Next, choose Time-driven because we want to send emails based on time.
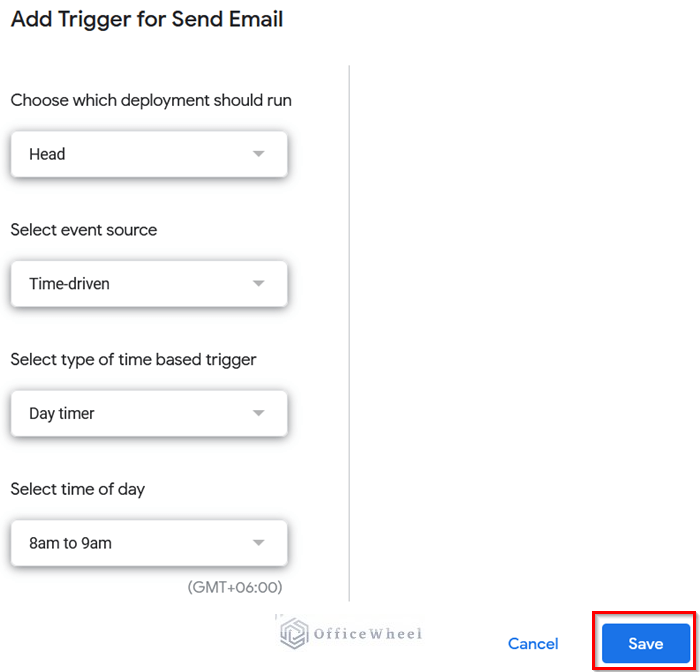
- After that, select the Day timer and give the time as 8 Am to 9 Am.
- Finally, under the Failure notification settings menu select Notify me daily.
- Ultimately, scroll down and press the Save button.
- Now Google Sheets will automatically send emails to those people whose invoice date is expired.
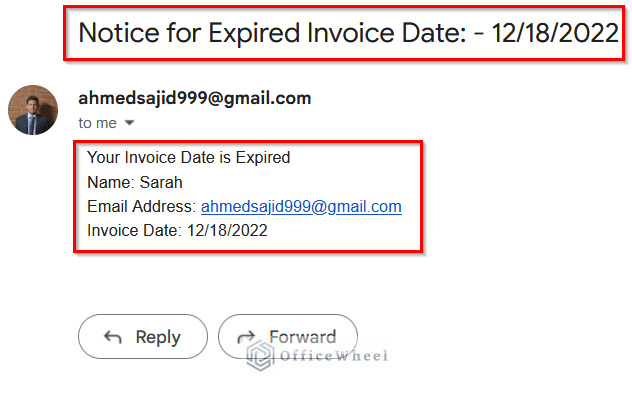
- Finally, you’ll receive an email like this automatically if your invoice date is expired.
Read More: How to Receive Notifications of Changes in Google Sheets
2. Combining Google Calendar with Google Sheets
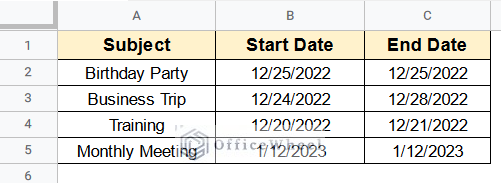
Apart from the first method, we can combine Google Calendar with Google Sheets to send email based on date. But for applying this method we have to prepare our dataset as below. We have put the header in Row 1 as Subject, Start Date, and End Date. Then, we add 4 events and their starting and ending dates as you can see in the picture. Now let’s see the procedure.
Steps:
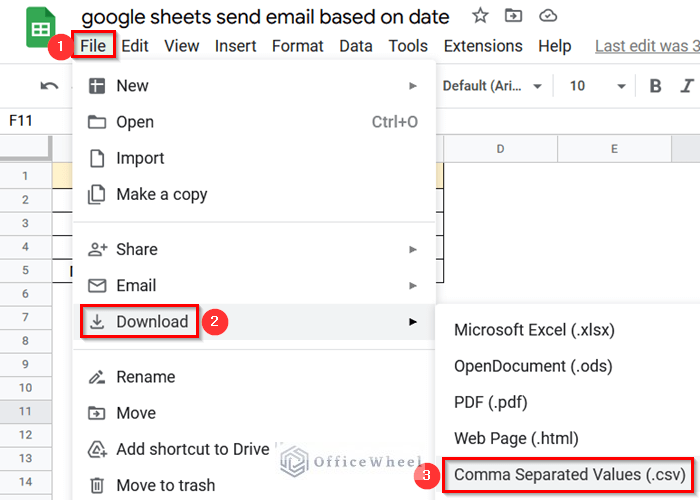
- Before all, go to File > Download > Comma Separated Values (.csv).
- Your Google sheets will be downloaded to your computer as a CSV File.
- Next, open Google Calendar.
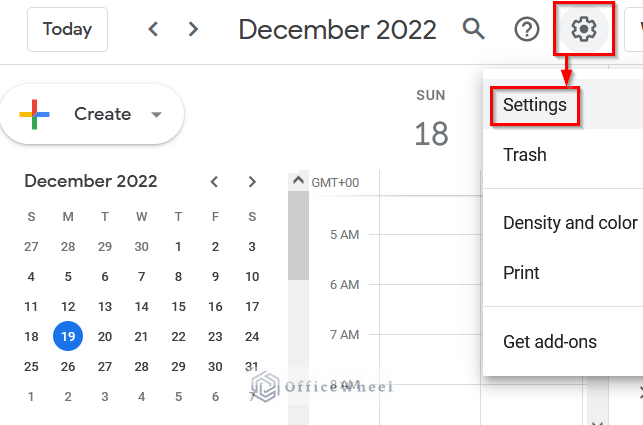
- After that, click on the Setting button at the top corner and go to Settings.
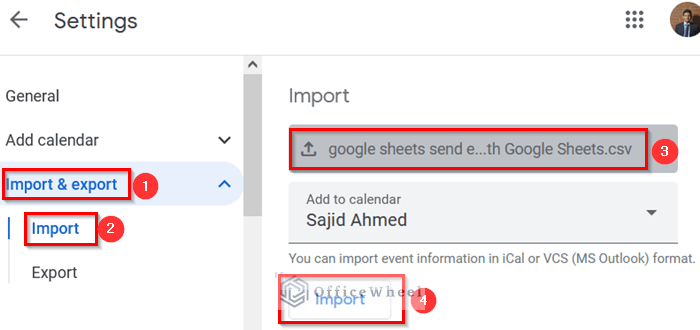
- Consequently, select the CSV File from your computer under the Import & Export menu.
- Again, click on the Import button to import the file into Google Calendar.
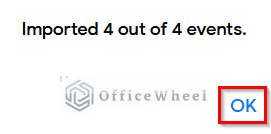
- You’ll get a message like this that your 4 events are imported.
- Next, press the OK button.
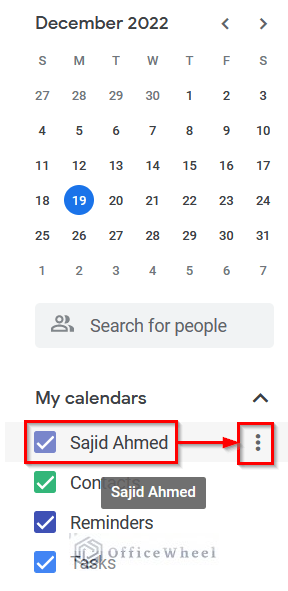
- Now, we’ll start the mail notification. So, click on the 3 Dots beside your name under the My Calendars menu.
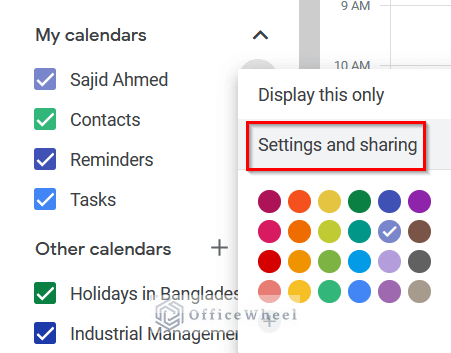
- Moreover, select Settings and Sharing like the below picture.
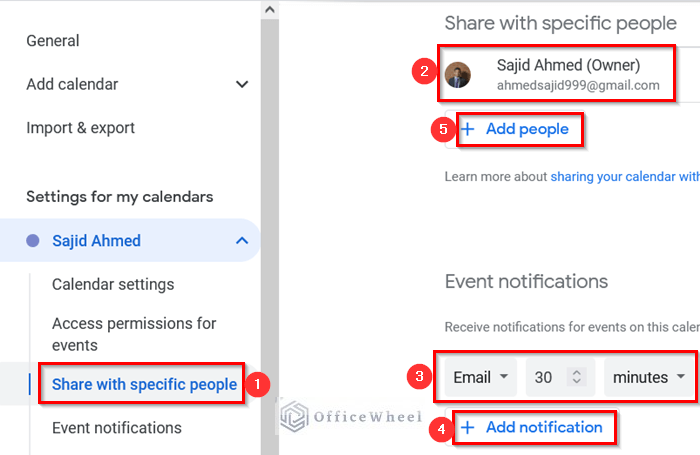
- Then, go to the Share with Specific People menu to see whether your email address is automatically added or not. In my case, it is automatically added.
- After that, under the Event Notifications menu select Email and the time of sending mail.
- Here, we choose 30 minutes. So it’ll send an email 30 minutes before the event.
- You can also add other people’s email by clicking the Add People button under your email address to notify them about the event.
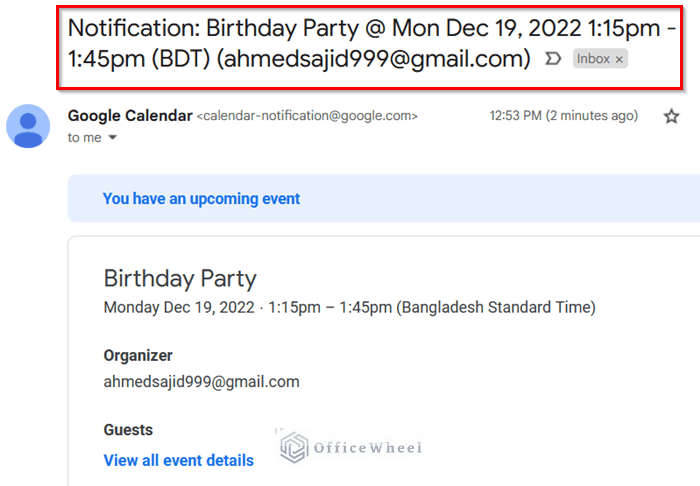
- Moreover, you’ll get an email like below before the start of the event.
Read More: How to Notify Multiple Users in Google Sheets (3 Ideal Examples)
Things to Remember
- The Apps Script Extension won’t work if you don’t give access properly.
- To get an email notification from Google Calendar you have to insert the header row the same as our dataset in Google sheets. Or Google calendar won’t recognize the events.
Conclusion
That’s all for now. Thank you for reading this article. In this article, I have discussed 2 easy methods to send email based on a date in Google Sheets. Please comment in the comment section if you have any queries about this article. You will also find different articles related to google sheets on our officewheel.com. Visit the site and explore more.

